Stucco Water Damage and Mold: How to Handle Health Risks and Remediation Right
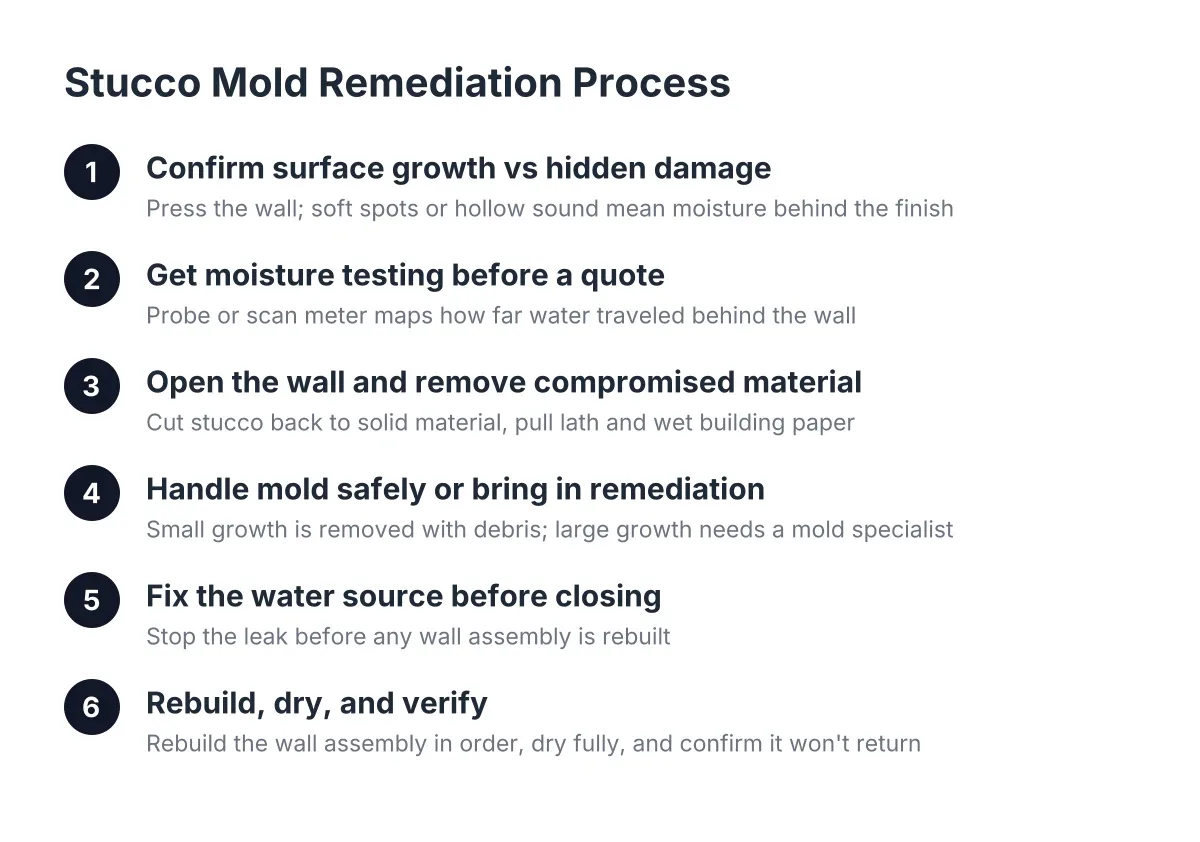
Stucco water damage and mold go together more often than most owners expect. Water gets behind the stucco, sits against wood sheathing and paper, and growth starts where you cannot see it. If you have already decided to get the wall fixed, this guide walks you through the stucco mold remediation process step by step, so you know what a good crew should do, what each stage costs you in time, and where corners get cut when a bid comes in suspiciously low.
The short version: surface staining you can clean is a cosmetic job. A soft spot, a musty smell indoors, or bubbling finish usually means opening the wall. Any contractor quoting a firm number without checking which one you have is guessing with your money.
Step 1: Confirm Whether You Have Surface Growth or Hidden Damage
Start by sorting cosmetic from structural, because the two problems have different fixes and different price tags. Press on the stained area with your palm. Solid stucco feels like concrete. A soft spot, flex, or hollow sound means moisture has reached the layers behind the finish.
Look for these signs that water has gotten behind the stucco, not just on it:
- Soft or spongy areas when you press on the wall
- Bubbling, flaking, or peeling in the finish coat
- Dark staining that returns after cleaning, especially below windows
- Cracks wider than a credit card edge, or cracks that run from window corners
- A musty smell inside the room behind the wall
- Stucco that sounds hollow when tapped compared to nearby areas
Discoloration alone is not proof of hidden damage. Stucco is porous; it absorbs moisture instead of shedding it the way vinyl siding does. On shaded north walls that stay damp, growth can embed deep in the pores of the material and look like water damage when it is really a cleaning problem. If the wall is solid, dry behind, and only stained, you may be looking at treatment and a refinish, not remediation.
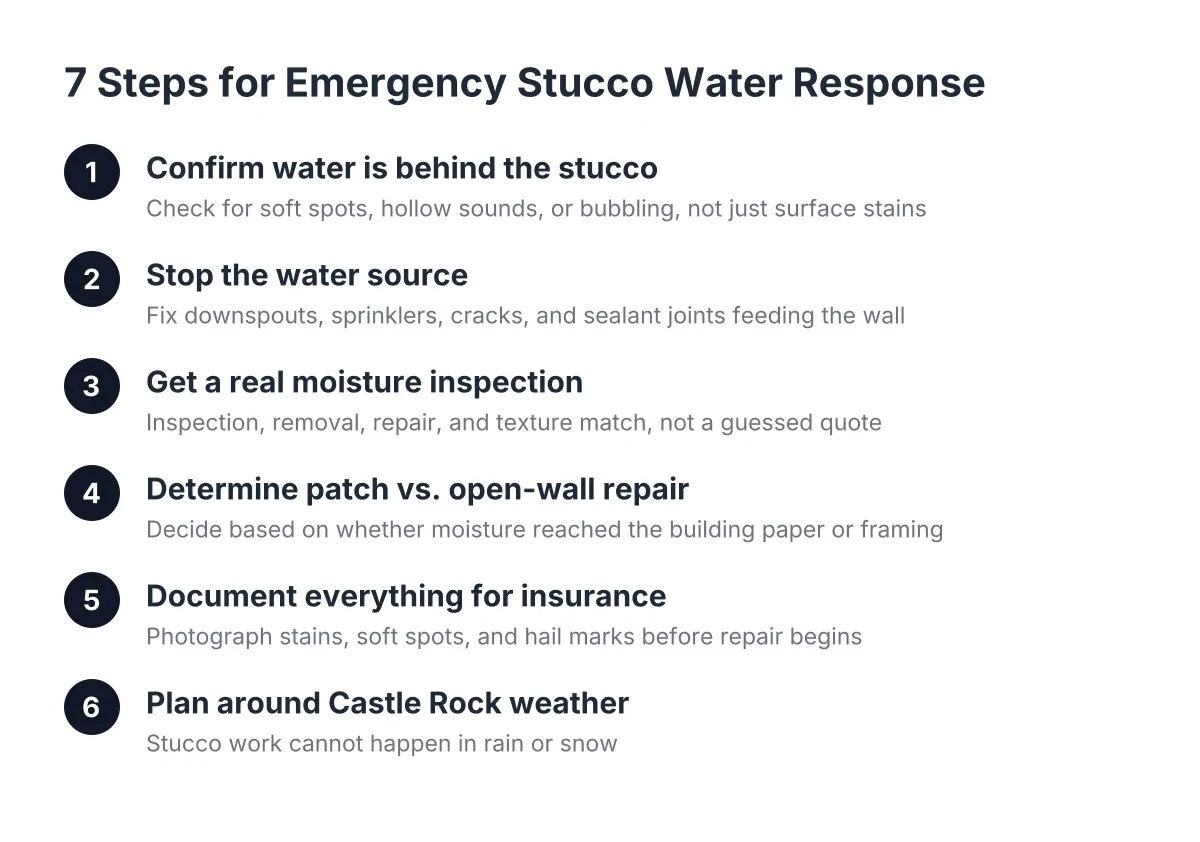
However, do not stop at a visual check if anything feels soft. That is the line between a patch and a tear-out, and it is the single biggest reason two quotes for the same wall can differ by thousands.
Step 2: Get Moisture Testing Before Anyone Quotes a Scope
A real stucco crew tests before it quotes. Moisture testing tells you how far water has traveled behind the wall, which determines whether you need a patch, a partial tear-out, or full remediation of a wall section. A probe meter reading through small holes, or a scan with a moisture meter around windows and at the base of walls, maps the wet area.
This matters directly to anyone comparing bids. Suppose a landlord in Castle Rock has a duplex with staining under a second-floor window and gets two quotes: one at $1,200 for a patch and refinish, and one at $4,500 for opening six feet of wall. In that illustrative scenario, neither number means anything until someone tests the wall. The low bid might be right. It might also be a guess that fails during the next tenant's lease.
Ask every contractor the same three questions:
- Did you test for moisture, or are you quoting from the surface?
- What happens to the price if you open the wall and find rot?
- Will you show me the damage before you expand the scope?
A contractor who inspects before quoting should answer all three without hesitation. One who quotes a firm, sight-unseen number for suspected water damage is either padding the price to cover the unknown or planning to come back with change orders.
Step 3: Opening the Wall and Removing Compromised Material in the Stucco Mold Remediation Process
Once testing confirms water behind the stucco, the damaged section gets cut out. All loose or buckling material has to come off first; leaving it in place lets rain keep swelling the wood underneath, and the damage grows every storm season. The crew removes stucco back to solid, well-bonded material, then pulls the lath and building paper in the wet zone.
This is where mold shows up if it is going to. Wet paper and sheathing in a closed wall cavity is exactly where growth takes hold. The fix is removal, not spray-and-cover. Wet or rotted sheathing gets cut out and replaced. Damp but sound wood gets dried fully before anything closes it back in.
One thing worth knowing about old damage: building paper behind stucco gets brittle with age. A structural crack left open for years lets the wall flex and tear that paper, which turns a small leak into widespread intrusion. The longer the damage sat, the larger the opened area tends to be. That is not upselling; it is how water travels.
Step 4: Handle Mold Behind Stucco Safely, or Bring In Remediation
Mold found behind stucco during a repair falls into two categories. Small, contained growth on sheathing that is being removed anyway gets cut out and hauled off with the debris, and the cavity gets dried before closing. The stucco mold remediation process for small contamination is routine for a stucco repair crew.
Larger growth is different. If mold has spread into interior wall cavities, insulation, or living space, or if anyone in the home has respiratory issues, bring in a dedicated mold remediation company before the stucco work finishes. Stucco repair and mold remediation are separate trades, and a stucco crew that claims to do both on a big contamination job is stretching. This is one place where the honest answer is to pause and consult the right professional.
For a rental owner, this step is the one that affects habitability. A tenant complaint about musty smells or visible growth inside is not something to patch over before re-listing. Document the condition, fix the source of the water, remove the contaminated material, and keep the records. Stucco water damage and mold problems that get covered instead of corrected tend to resurface mid-lease, when they are hardest to deal with.
Step 5: Fix the Water Source Before Closing Anything
Repairing the stucco without fixing the leak buys you the same problem in two years. Before new paper and lath go on, the crew should identify and correct the entry point. Common sources in Castle Rock homes include:
- Failed sealant or flashing at window and door edges
- Cracks at corners, often worsened by slight settling where water pools near the foundation after repeated heavy rain
- Missing or clogged weep screeds at the wall base
- Sprinklers hitting the wall daily
- Vibration damage near AC units at corners, combined with poor drainage against the foundation
Fix drainage and grading issues at the same time if water collects at the base of the wall. New stucco over an uncorrected leak is money spent twice.
Step 6: Rebuild the Wall Assembly in the Right Order
With the cavity dry and the source fixed, the rebuild is straightforward: new building paper lapped correctly over the old, new lath fastened to solid framing, then scratch coat, brown coat, and finish coat with cure time between each. Rushing cure times is a common corner cut on cheap bids; coats applied over uncured base crack early.
Texture matching happens at the finish coat. For an owner-occupied home, a close match to the existing texture and color is worth paying for. For a rental between tenants, a solid, weather-tight patch that is close but not perfect may be the sensible trade-off; decide that before work starts, not after, so the quote reflects what you actually want.
Step 7: Dry, Verify, and Keep Stucco Water Damage and Mold From Coming Back
Before you call the job done, confirm the cavity was dry at close-up and the repair sheds water. Then put the wall on a simple maintenance rhythm, because prevention is cheap compared to another tear-out:
- Walk the exterior each spring and fall; press on areas below windows and at corners
- Seal hairline cracks before monsoon season instead of after
- Keep sprinklers off the walls and downspouts draining away from the foundation
- Clean shaded walls before growth embeds; long-neglected growth gets thick enough to need repeat treatments
- Never pressure wash stucco at high pressure, since forcing water behind the layers creates the exact problem you just paid to fix
As a rough 2026 planning range, a small contained repair with no rot often lands under $1,500, while opening a wall section with sheathing replacement commonly runs into the several-thousand range. Treat those as illustrative estimates; the moisture test, not the square footage, drives the real number.
Handled in this order, stucco water damage and mold stop being a mystery behind the wall. You know what was wet, what was removed, why the leak started, and what closed it up. That paper trail is worth as much as the repair itself, whether you are living behind the wall or renting it out.
If you need stucco repair, Castle Rock Stucco Pros can help.
Prefer to talk it through? Call (720) 797-8506 — a quick call is usually the fastest way to get a straight answer for your situation.