Exterior Stucco Walls After Fire or Freeze Damage: Repair or Replace in Castle Rock
Exterior stucco walls after fire or freeze damage rarely fail all at once. More often, they fail in sections: a scorched patch near a grill fire, a band of spalling along the foundation after a hard freeze, or a web of cracks where trapped water froze and pushed the finish coat off the wall. The hard question for a Castle Rock homeowner is not whether to fix it. It is whether to restore the damaged section or tear out and replace the wall. This guide walks through that decision step by step, in the order a stucco crew would actually work it.
This matters double if you are getting ready to list. A visible burn mark or a flaking freeze-damaged corner is exactly the kind of defect a buyer's inspector photographs. And if you have already lived through a patch that never matched, you know the second repair has to be planned better than the first.
Step 1: Walk the Wall and Map Every Damaged Area
First, get the full picture before anyone mixes a batch of stucco. Fire and freeze damage both spread wider than they look. Heat travels behind the finish, and frozen moisture migrates along the wall, so the visible damage is usually the center of a larger problem.
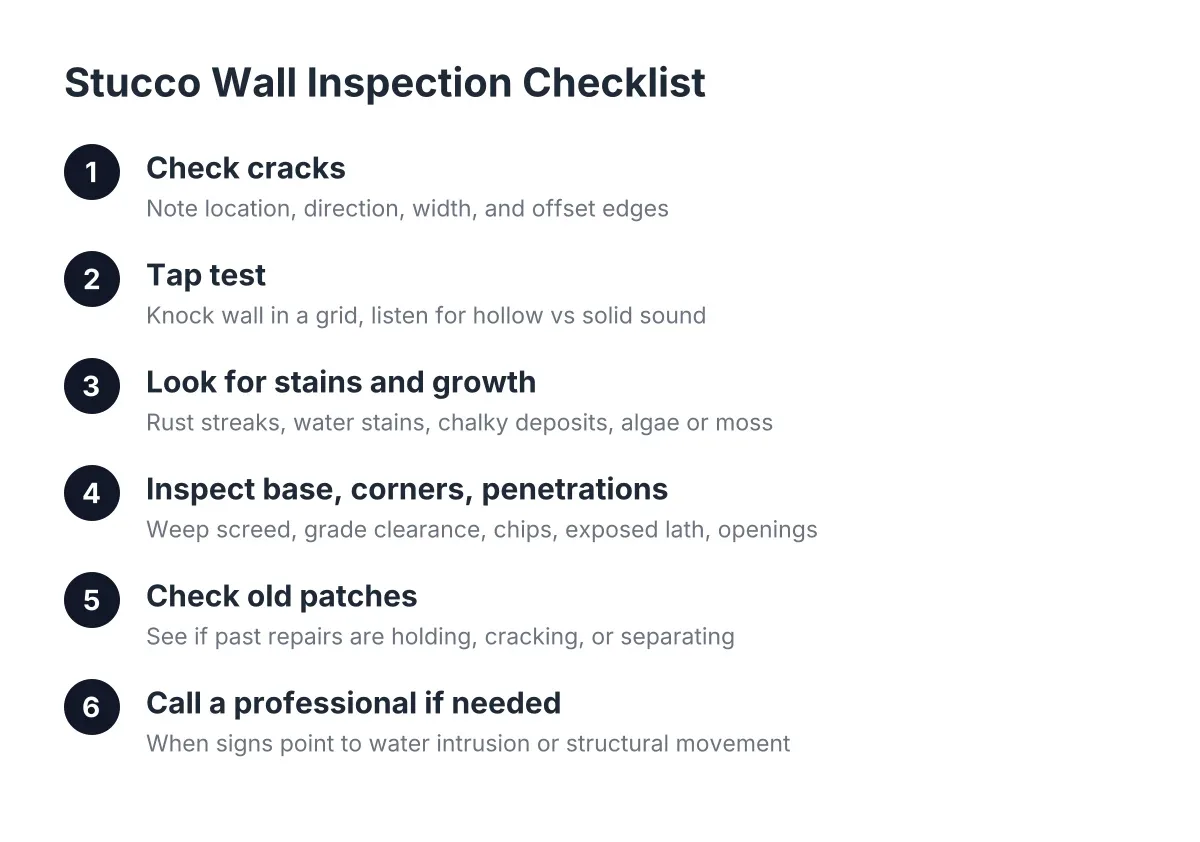
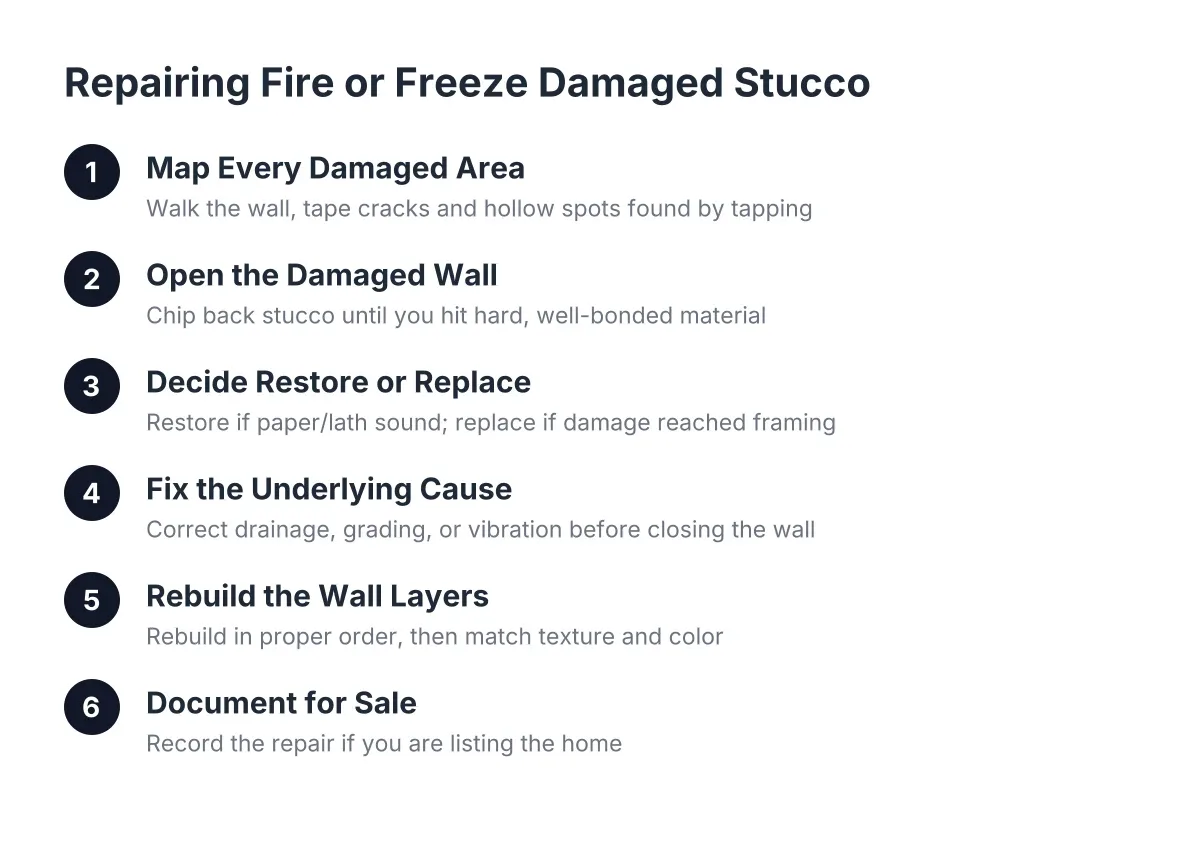
Walk the entire elevation in good morning light. Mark every crack, bubble, soft spot, and discolored area with painter's tape. Then tap the wall lightly with a screwdriver handle around each marked spot. A solid wall sounds dull; a delaminated area sounds hollow. Tape off the hollow zones too, even where the surface looks fine.
For freeze damage, pay close attention to:
- The bottom two feet of the wall, where snowmelt pools and refreezes against stucco wall construction
- Areas below window sills and around downspouts
- Corners near air conditioning units, where vibration plus pooled water does steady damage
- Hairline cracks that have widened or grown white mineral staining since last winter
For fire damage, check how far the discoloration runs past the obvious burn. Stucco that got hot enough to change color may have lost strength even where it is still attached.
Step 2: Opening Fire or Freeze Damaged Exterior Stucco Walls
Next, remove everything loose. This step decides whether the repair holds or fails, and it is where quick patch jobs go wrong. Leaving buckled or soft stucco in place lets rain keep working the material behind it, and the damage keeps growing under the new patch.
Chip back the damaged stucco until you hit material that is hard, well bonded, and sounds solid when tapped. Do not stop at the edge of the visible damage. On a freeze-spalled wall, expect to remove 6 to 12 inches beyond the last soft spot. On a fire-scorched wall, remove everything discolored plus a margin of sound material.
What you see once fire or freeze damaged exterior stucco walls are opened up tells you which way this job goes:
- Building paper intact, lath sound, sheathing dry: this is a restoration candidate
- Building paper torn or brittle, lath rusted, sheathing charred or wet: you are into partial replacement
- Damage running behind sound stucco beyond the opening: keep opening until you find the edge
Older walls are the risk here. A structural crack left alone for years lets the building paper behind it turn brittle, and normal wall flexing can tear that paper. Once the paper is torn, water gets to the sheathing, and a surface repair will not save the wall.
Step 3: Decide Between Restoration and Replacement
The restoration versus replacement call comes down to what the damage reached, not how big the surface area looks. Restore when the damage stopped at the stucco layers; replace the section when fire or freeze reached the paper, lath, or framing behind them. A large shallow repair is still a repair. A small deep one is a rebuild.
Use these criteria:
- Restore (patch and blend) when the base coat is mostly sound, the paper is intact, and damage is cosmetic or limited to the finish coat.
- Replace the section when the paper is torn, the lath has rusted through or burned, or the sheathing is charred, soft, or moldy.
- Replace corner to corner when a corner or wall section has deteriorated badly. The technically correct repair removes the stucco across the full section and rebuilds it, rather than dropping an island patch in the middle of a wall. Patch edges that land mid-wall are exactly where texture mismatches show.
Budget honestly. As a rough illustrative range, a contained freeze-spall repair on one wall section in Castle Rock might run a few hundred to a couple thousand dollars, while cutting out and rebuilding a fire-damaged section with new lath and paper can run well past that. Pre-listing sellers usually land in the targeted-repair column, fixing the visible defects an inspector would flag rather than re-skinning the house.
One honest trade-off: a partial patch is faster and cheaper than corner-to-corner replacement, but if the underlying cause is still active, the crack comes back. Fix the drainage, move the vibration source, or accept that you are buying time, not a permanent repair.
Step 4: Fix the Cause Before You Close the Wall
Freeze damage is a water problem wearing a temperature costume. If water could not sit against or inside the wall, the freeze could not break it. Therefore, before any new material goes on, correct whatever let water in.
Common Castle Rock culprits include downspouts dumping at the foundation, grade sloping toward the house, failed sealant around penetrations, and sprinklers hitting the wall nightly all summer. Vibration from a nearby AC condenser combined with poor drainage is a known corner-killer; the vibration opens hairline cracks and the pooled water exploits them every freeze cycle.
For fire damage, the cause question is simpler but the moisture question remains. Firefighting water soaks walls. Let the opened cavity dry fully before new paper and lath go on, or you trade fire damage for water damage behind a fresh patch.
Step 5: Rebuild the Wall Layers in Order
With the cavity dry and the cause fixed, rebuild the wall the way it was built the first time. Shortcutting layers is how patches fail within a winter or two. The sequence for a replacement section:
- Repair or replace damaged sheathing.
- Install new weather-resistive paper, lapped shingle-style over and under the existing paper so water sheds outward.
- Fasten new lath, tied into the existing lath at the edges.
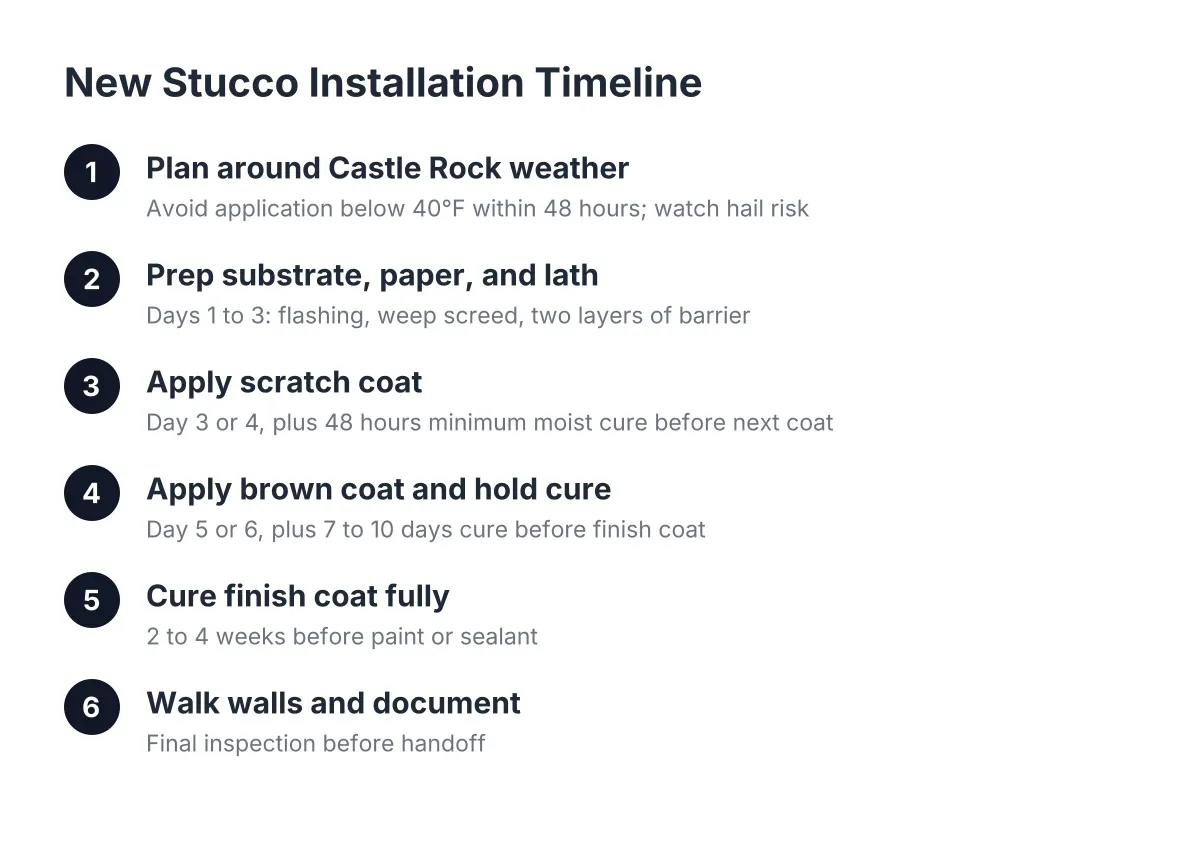
- Apply the scratch coat and let it cure.
- Apply the brown coat, brought flush with the surrounding wall plane, and let it cure.
- Apply the finish coat last, and only when the base is ready.
Rushing the cure between coats causes shrinkage cracks, which puts you right back where you started. On a straightforward restoration, where only the finish coat failed, you may skip to a bonding treatment and new finish coat over the sound base. The same patience rule applies.
Step 6: Match the Texture, Then Decide About Color
This step is where most repairs get judged, and where most of them lose. If you have already watched a previous patch dry into an obvious rectangle that does not match the rest of the wall, you know texture is the whole game.
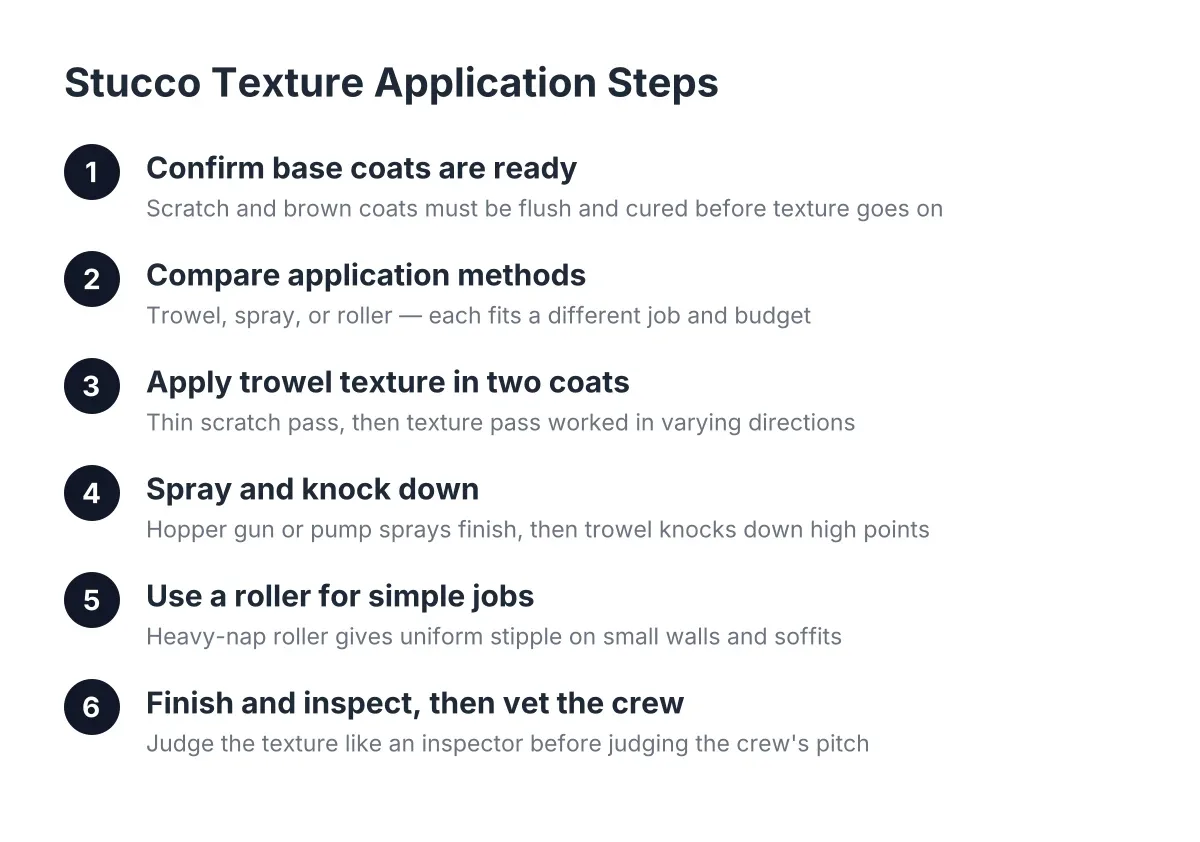
Texture matching means reproducing the original finish technique, not just the material. A sand float finish, a dash finish, and a skip trowel finish each require different tools and hand motion. A good crew tests the texture on a sample board or an inconspicuous spot first, compares it dry against the existing wall, and adjusts before touching the repair. Weathered walls add difficulty; decades of sun and grit soften a texture in ways fresh stucco does not have, so the crew may need to knock back or age the new finish by hand.
Color is the second half. Integral color almost never matches aged stucco exactly, because the original has faded. When the color cannot be matched closely enough, the honest fallback is painting the full wall section, break to break, so the eye never finds a transition line. A well-matched and painted repair should be hard to find once it is done; that is the standard to hold a contractor to. Many finished stucco walls end up coated with masonry paint eventually anyway, so this fallback is a normal path, not an admission of defeat.
Blending Exterior Walls After Fire or Freeze Damaged Patches
Blending exterior walls after fire or freeze damaged patches usually means reworking the old patch, not layering over it. A second skim over a proud or mistextured patch telegraphs both repairs. The better fix is to grind or chip the old patch back, retexture the area as one piece with feathered edges, and repaint to a natural break like a corner or control joint.
Suppose a homeowner in Castle Pines had a handyman patch a freeze-spalled spot two years ago, and the patch dried smoother and half a shade lighter than the wall. In that scenario, the right sequence is to open the old patch, confirm the paper behind it survived, refinish the full visual section with the correct float technique, and paint corner to corner. The repair disappears because its edges land where the eye expects a transition anyway.
Step 7: Document the Repair if You Are Selling
Finally, if this repair is part of a pre-listing punch list, keep records. Photograph the opened wall showing dry sheathing and intact paper, the new layers going in, and the finished blend. A buyer's inspector who sees stucco repair wants evidence it addressed the cause, not just the cosmetics. A short paper trail turns a repair from a red flag into a closed item.
Context helps here too. Colorado exteriors take real abuse; the state logged 182,591 hail insurance claims from 2013 to 2015, second only to Texas, according to the Rocky Mountain Insurance Information Association. Buyers and inspectors in this market know weather damage when they see it, and they respect documented repairs.
When to Bring in a Local Stucco Crew
Some of this is honest homeowner work: mapping damage, fixing a downspout, tapping for hollow spots. The rebuild and the texture match are not. Fire-damaged walls can hide structural and electrical problems that need a professional eye before anyone closes the cavity, and insurance claims usually require a contractor's scope anyway. Texture matching on a weathered wall is a hand skill built on repetition with the finishes common to this area, which is the same skill set a crew carries whether it is repairing a 1998 wall or finishing new construction stucco and siding on a build in progress.
The practical test for any stucco repair contractor in Castle Rock is simple. Ask how they find the edge of the damage, ask what they do when the paper behind the stucco is torn, and ask to see their texture sample before they commit it to your wall. A crew that answers those three questions plainly will leave you a wall you stop noticing. That is the whole point.
If you need stucco repair, Castle Rock Stucco Pros can help.
Prefer to talk it through? Call (720) 797-8506 — a quick call is usually the fastest way to get a straight answer for your situation.