Stucco Texture Application Methods: Trowel, Spray, or Roller for New Builds in Castle Rock, CO
Builders and GCs who hire a stucco sub care about two things: does the crew show up on schedule, and does the finish look the same on house 14 as it did on house 1. Both come down to stucco texture application methods. The method a crew uses, trowel, spray, or roller, decides how fast walls get finished, how consistent the texture looks across a subdivision, and how easy future repairs will be to match. This guide walks through each method step by step, so builders in Castle Rock, CO and homeowners checking a contractor's work know what a proper application looks like.
The same knowledge matters if you own rental property. A landlord with a duplex in Castle Rock who needs a patched wall to blend before re-listing is asking the same question a builder asks across 40 homes: can this crew produce the same texture twice.
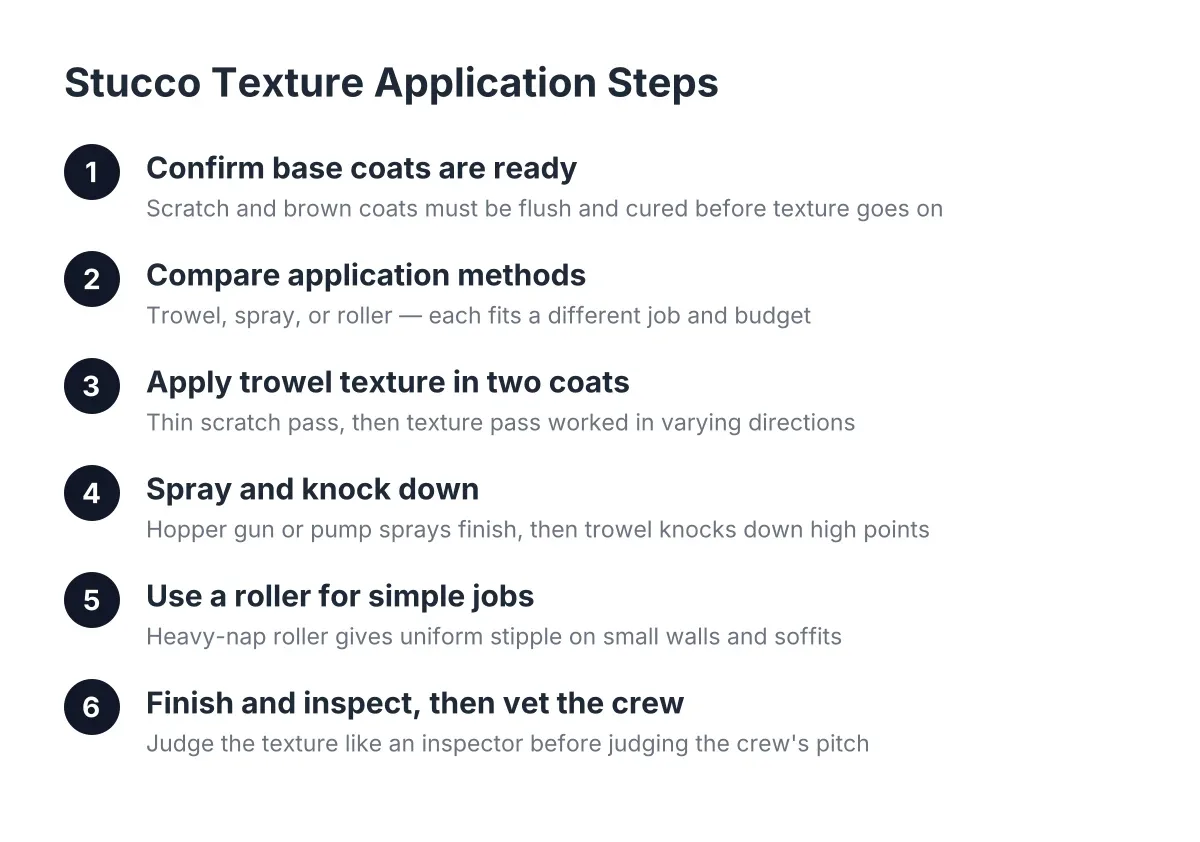
Step 1: Confirm the Base Coats Are Ready Before Any Texture Goes On
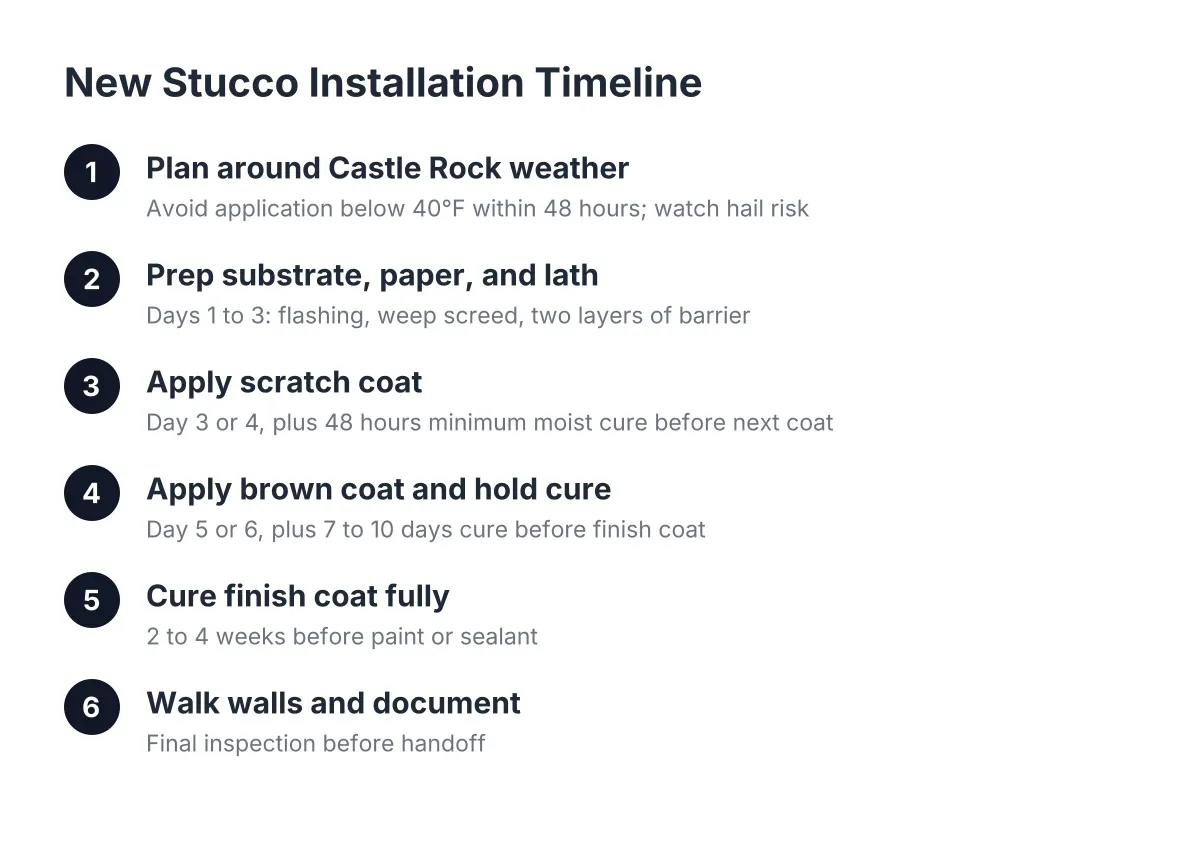
Texture is the last coat, not the first. Traditional stucco goes on in three coats: a scratch coat that gets raked so the next layer bonds, a brown coat that builds flatness, and a finish coat that carries the color and texture. On new construction, no texture method works if the brown coat underneath is wavy or still green.
Before texturing, a crew should check that the wall is flush and cured enough to take the finish. On repairs, the same rule applies. A damaged or indented area has to be filled with base coat and brought level with the surrounding wall first. Texture hides small surface flaws, which is part of why stucco stays popular, but it will not hide a low spot the size of a dinner plate.
For a builder, this step is where schedule reliability shows up. A crew that rushes texture onto an uncured brown coat will be back fixing blotches and hairline cracks on the punch list. That costs more days than waiting for proper cure in the first place.
Step 2: Comparing Stucco Texture Application Methods
There is no single correct way to texture stucco. Different applicators use different styles, and the end result is what counts. Still, each of the three main stucco texture application methods fits a different situation.
- Hand trowel: the traditional method. The crew spreads finish coat with a steel trowel and works it into the final pattern. Best for custom homes, texture matching on repairs, and finishes like smooth, skip trowel, or sand float.
- Spray (hopper gun or pump): finish material gets sprayed onto the wall, then left as a dash texture or knocked down with a trowel. Best for production builds where speed and consistency across many homes matter.
- Roller: a thick roller applies an acrylic or cement-based finish in a uniform stipple. Best for smaller walls, soffits, and budget-driven work where the texture is simple.
A production builder putting up 30 homes usually wants spray with knockdown because one operator can texture a full elevation in hours and every house comes out alike. A custom builder or a homeowner matching a 1990s hand-troweled finish needs a trowel crew. Additionally, a landlord fixing a patch between tenants may accept any of the three, as long as the patch does not announce itself from the street.
Step 3: Apply a Trowel Texture in Two Coats
Hand troweling a finish typically works in two passes: a thin scratch coat of finish material first, then the texture coat once the first has set up partway. Suppose a crew is texturing a garage wall in Castle Rock, CO. They would spread the first pass tight and flat, wait for it to firm, then apply the second pass and work it into the pattern, skip trowel, Santa Barbara smooth, or a sand finish.
The key habit separates good trowel work from blotchy walls: work the material in varying directions. Troweling in one direction leaves lap marks and shading differences that show up once the wall dries and especially once the sun hits it at a low angle. Crews that cross their strokes blend the finish evenly.
However, trowel work is also the slowest of the stucco texture application methods, and the most dependent on the individual applicator's hand. On a multi-home contract, that means the same two or three finishers should run every elevation. Swapping finishers mid-subdivision is how you end up with house 8 looking different from house 9.
Step 4: Spray and Knock Down for Speed and Consistency
Spray application shoots finish coat through a hopper gun or pump onto the prepared wall. Left alone, it dries as a dash texture, a pebbly, even stipple. Knocked down, the crew waits for the sprayed material to firm slightly, then passes a trowel lightly over the high points to flatten them into the familiar knockdown pattern.
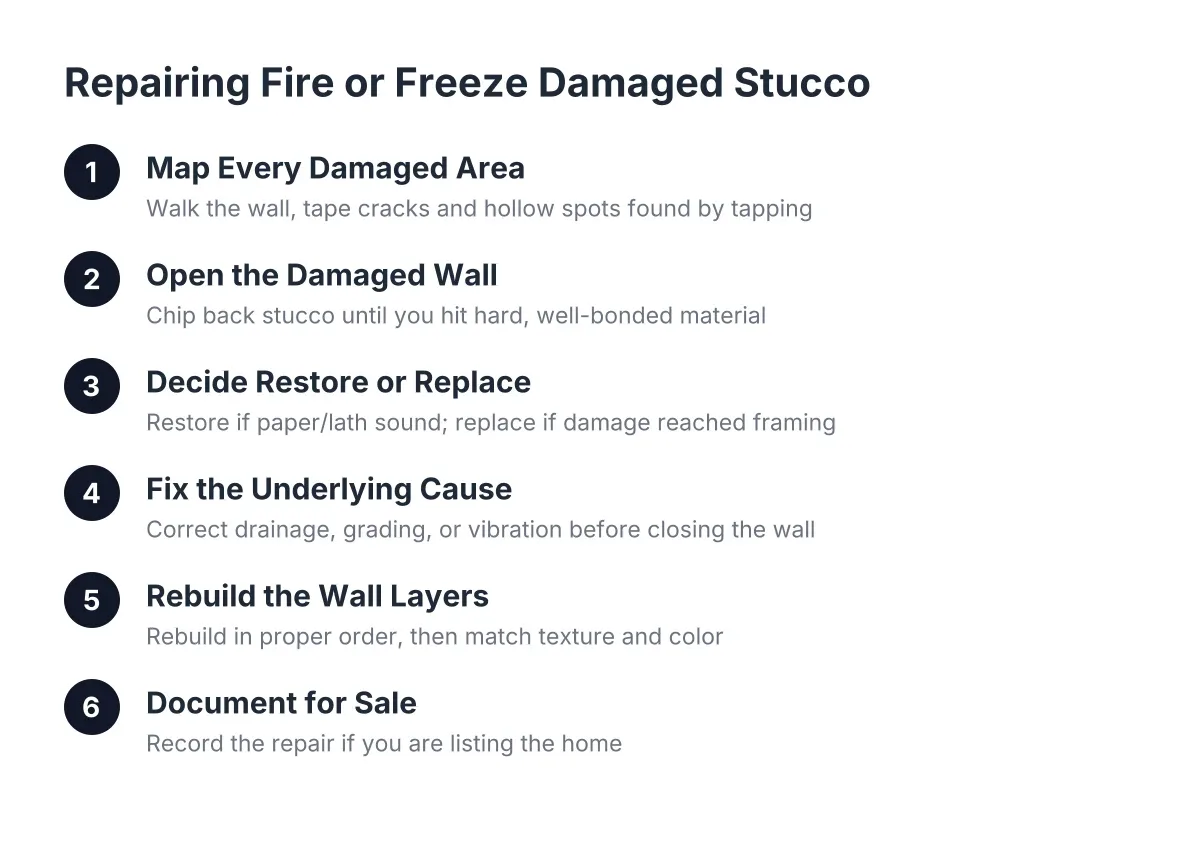
For repairs, spraying matters even more than for new walls. A knockdown dash patch gets sprayed onto the repaired area and then troweled down to blend with the surrounding texture. Dabbing material on by hand instead of spraying or flicking it tends to create uneven valleys and high spots, and the patch never quite matches. This is the detail to watch if you are a homeowner who had water damage repaired near a window: a dabbed-on patch telegraphs forever, while a sprayed and knocked-down patch disappears.
Timing is the risk. Knock down too early and the trowel smears the texture flat; too late and the high points will not lay down. Weather in Castle Rock swings the window. A hot, dry July afternoon can cut working time in half compared to a cool October morning, so an experienced crew adjusts batch size and crew spacing to the day.
Step 5: Use a Roller Where Simplicity Beats Craft
Roller texturing applies a thick acrylic or cement-based finish with a heavy-nap roller, producing a uniform stipple. It takes the least skill of the three methods, needs the least equipment, and works on small areas: knee walls, chimney chases, utility walls, and some soffits.
The trade-off is range. A roller cannot reproduce a skip trowel or a heavy dash, so it is the wrong tool for matching most existing Colorado stucco. For a landlord repainting and patching a rental's rear elevation that no tenant will study closely, roller finish over a sound base can be the cost-controlled answer. For a street-facing wall on a custom home, it usually is not.
Step 6: Finish the Texture, Then Judge It Like an Inspector
Whatever the method, the last pass is cleanup. After the texture goes on, the crew knocks down stray high points and rough spots with the trowel so the pattern reads even. Skipping this step leaves a wall that looks fine wet and ragged dry.
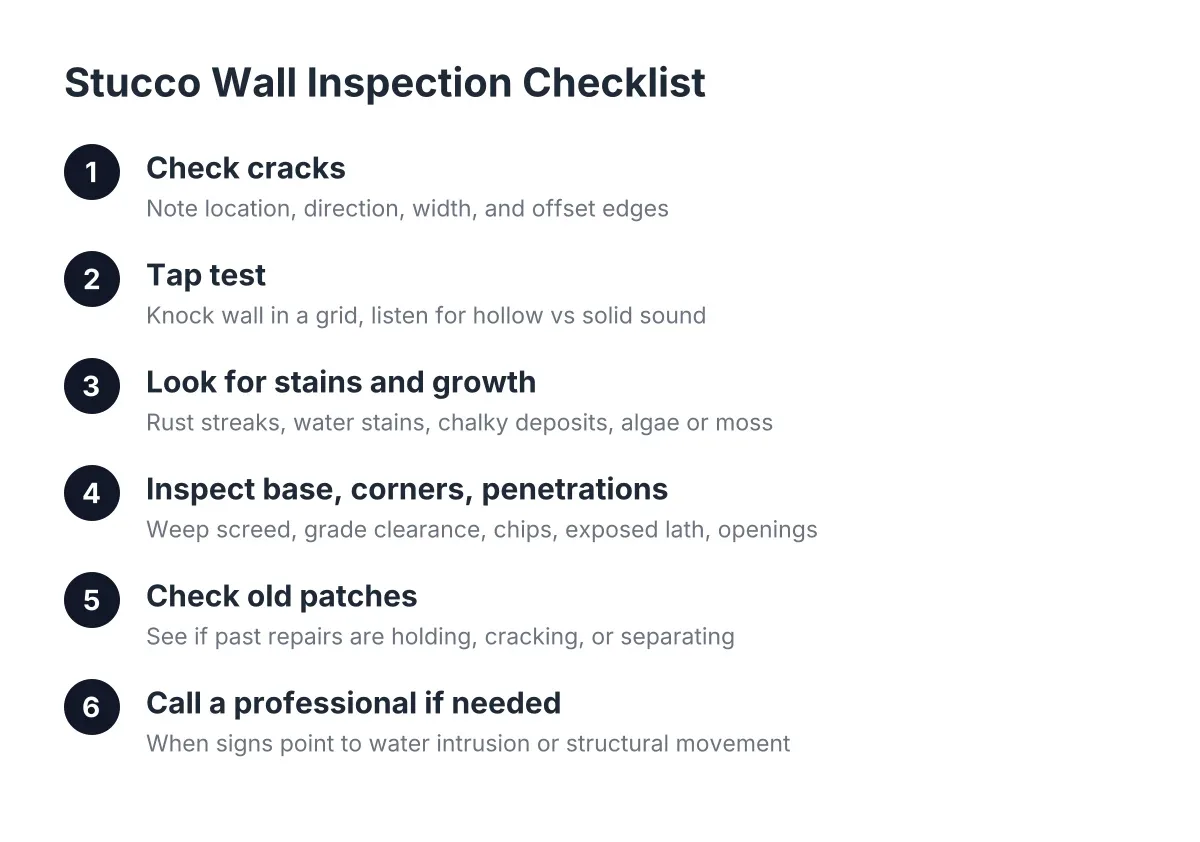
Then step back and judge the wall the way a builder's superintendent or a buyer's inspector will:
- Look down the wall at a low angle in raking light. Lap marks, blotches, and direction changes show here first.
- Compare the patch or new elevation against adjacent walls from 10 feet away. A good texture match should not catch the eye.
- Check around windows, downspouts, and penetrations. These are the spots where sloppy texture work usually hides thin coverage, and thin coverage is where water finds its way in later.
That last point matters in this climate. Colorado's weather punishes weak exterior work; home insurance premiums in the state rose 65% over the last five years, with hail cited as a major driver, according to the National Association of Insurance Commissioners. A texture coat applied at proper thickness is part of the armor. A thin, rushed one is a future water-stain investigation.
Step 7: Vet the Crew by Their Method, Not Their Pitch
For a builder choosing a stucco sub for new construction stucco and siding work, the texture method conversation is a fast quality screen. Ask which method they plan to run on your spec, how many finishers will touch the walls, and how they keep texture consistent from the first house to the last. A crew that answers in specifics, spray-and-knockdown with the same two finishers per block, sample panel approved before production, has thought about consistency. A crew that says "we do all textures" without a plan has not.
Homeowners and landlords in Castle Rock can run the same screen on a repair bid. Ask how the crew will match your existing texture, and expect an answer that names a method: troweled skip to match, sprayed dash blended at the edges, or a test patch first. On older homes with layered paint, elastomeric coatings, or suspected water damage behind the wall, texture matching gets harder and the honest answer may be a larger refinish area; that is a case where an on-site look from a local stucco repair pro beats any guide, including this one.
The method is learnable from an article. The hand that runs the trowel, and the crew that shows up when the brown coat is ready, are what you are actually hiring.
If you need stucco repair, Castle Rock Stucco Pros can help.
Prefer to talk it through? Call (720) 797-8506 — a quick call is usually the fastest way to get a straight answer for your situation.