Why Stucco Patches Fail and How Professionals Make Repairs That Last
You patched that crack near the window last summer, and now the patch is loose, discolored, or cracked right down the middle. You are not alone. Understanding why stucco patches fail, and how professionals prevent that separation for good, is the difference between fixing a wall once and fixing it every spring. This guide walks through the repair process step by step, the way a good local crew in Castle Rock would actually do it, so you know what a lasting repair looks like and can hold anyone you hire to that standard.
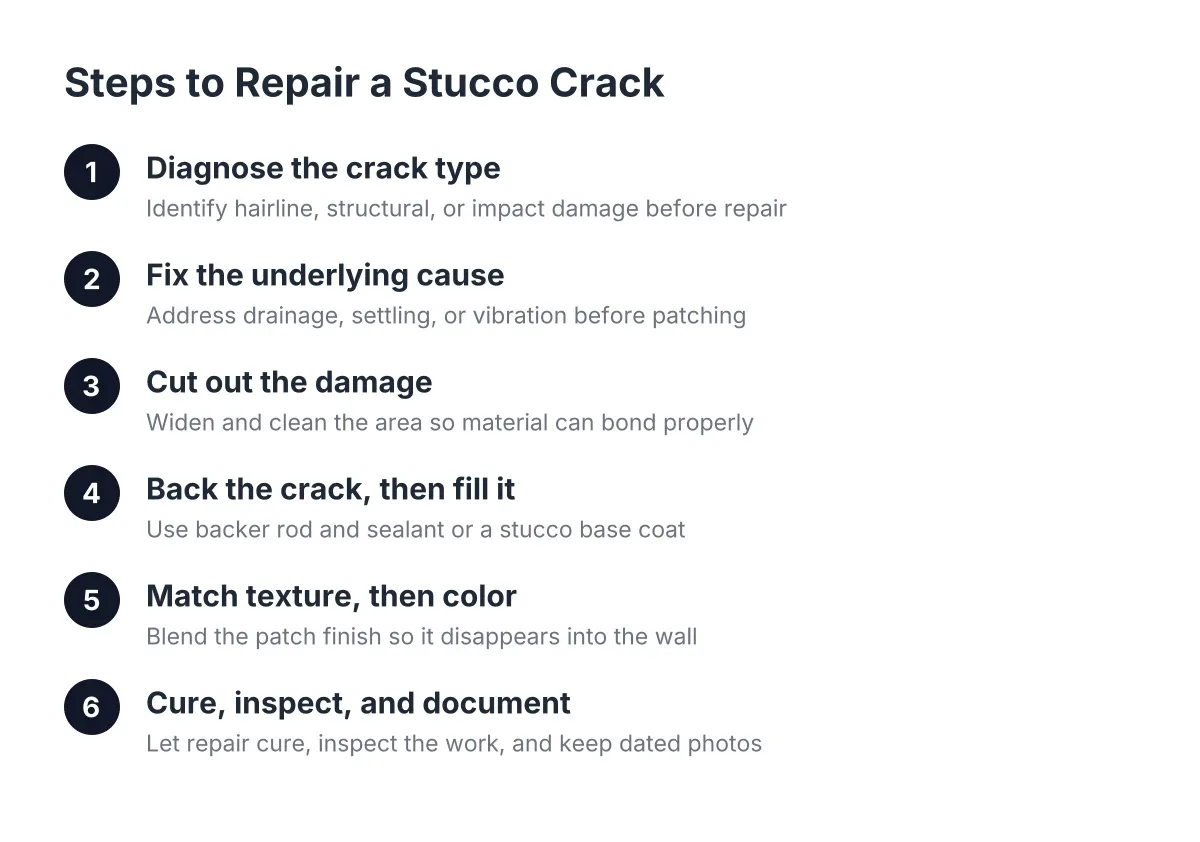
Most failed patches share the same story. Someone smeared patch material over a dirty, dry, or damaged surface without finding out why the stucco cracked in the first place. The patch never bonded, the water kept coming in, and the wall kept moving. Here is how to do it right.
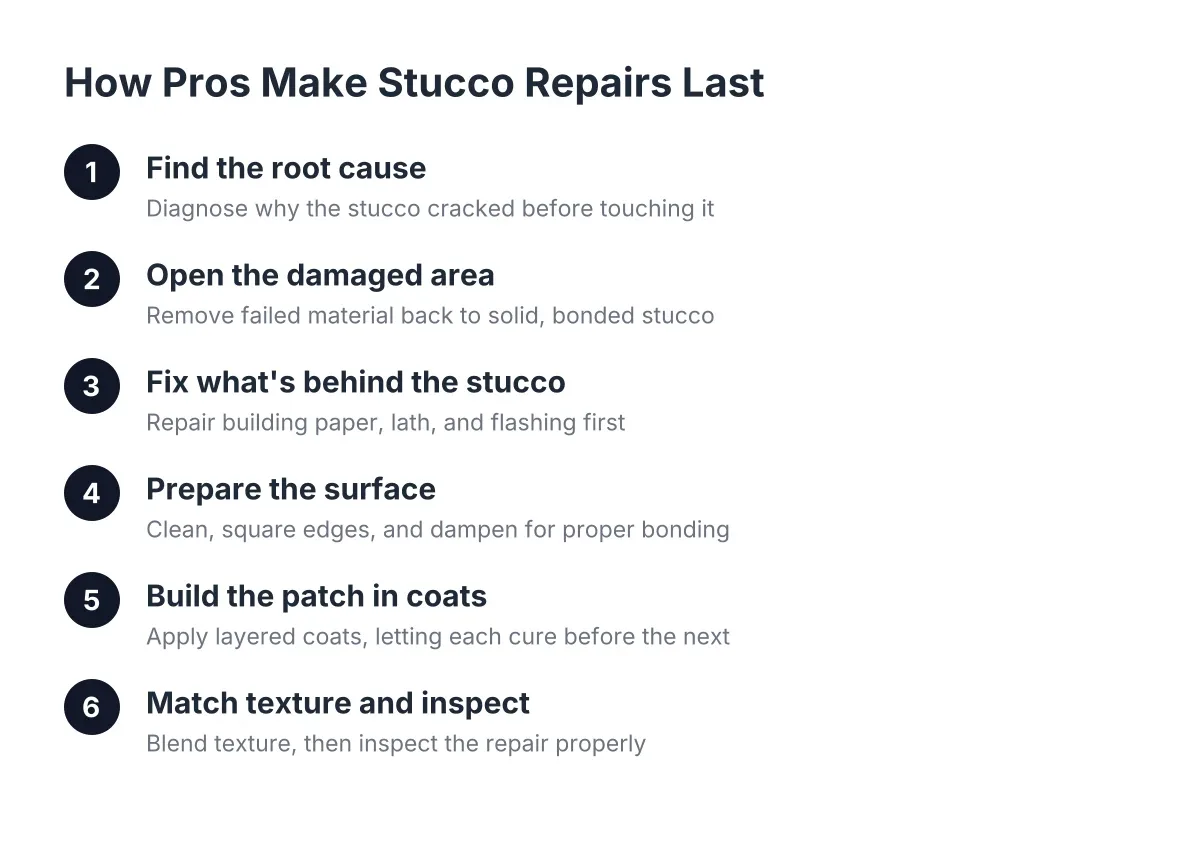
Step 1: Find Out Why the Stucco Failed Before You Touch It
Do not open a bucket of patch material until you know what caused the damage. A crack near a window that keeps returning is usually a symptom, not the problem. Common causes in Castle Rock homes include settling in newer builds, poor drainage near downspouts, hail impact, and stucco that cured too fast in our dry climate.
This matters most on newer homes. Suppose a homeowner in Stonegate has a five-year-old house with a spreading dark stain under a second-story window. The builder warranty has expired, the builder stopped returning calls, and the stain will not clean off. In that scenario, the stain is almost certainly water getting behind the stucco at a failed sealant joint or flashing detail. Patching the surface without fixing the entry point means the stain, and the damage, come back.
Check these before any repair starts:
- Where does water travel on this wall during rain or snowmelt?
- Are downspouts dumping water against the base of the wall?
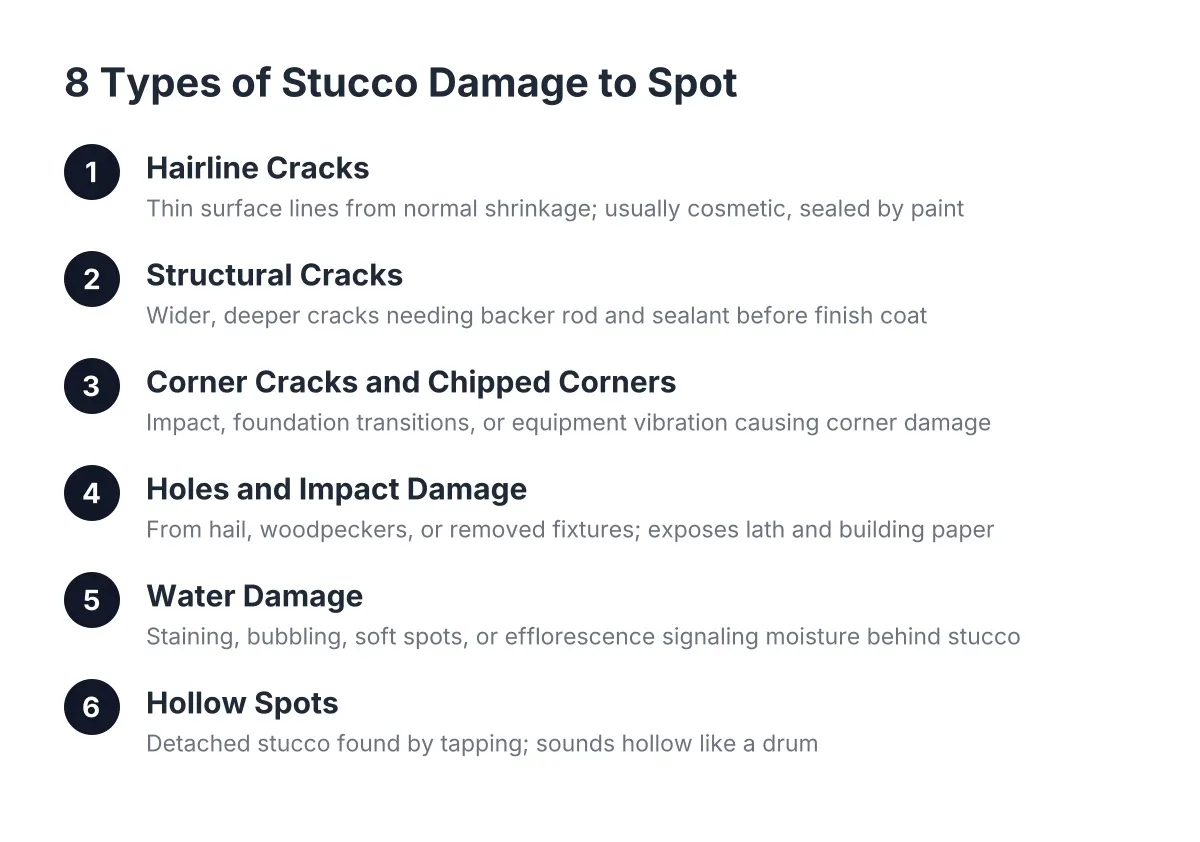
- Does the stucco sound hollow when you tap around the damage?
- Does the surface feel soft or crumbly under light pressure?
- Is there a musty smell inside near that exterior wall?
A hollow sound or a soft spot you can push in with a finger means the failure goes deeper than the surface. That area needs to come out, not get covered up.
Step 2: Open the Damaged Area, Not Just the Crack
A lasting repair starts by removing all the failed material back to solid, well-bonded stucco. This is where DIY patches and rushed handyman work go wrong. They fill the visible crack and leave loose, delaminated stucco around it. The wall keeps flexing, the loose material keeps moving, and the new patch tears loose within a season or two.
Cut the opening back until every edge sounds solid when tapped. On water damage repairs, keep going until you reach dry, intact building paper and lath. This is the part homeowners fear most, and the fear is fair; sometimes a small stain hides a larger wet area. However, finding it now costs far less than finding rotted framing later. A crack left alone for years lets the paper behind it grow brittle, and once wall movement tears that paper, water has a direct path to the wood.
One honest trade-off: on a badly deteriorated corner, the technically correct fix is to remove the stucco across the full wall section, corner to corner, and redo it. A partial patch is faster and cheaper, and it can hold up fine, but only if the underlying cause, like drainage or vibration, gets corrected at the same time.
Step 3: Fix What Is Behind the Stucco First
Stucco is a skin. The waterproofing behind it does the real work. Before any new material goes on, repair or replace the torn building paper, lap it correctly so water sheds outward, and fix any damaged lath. If the water came in at a window, redo the flashing and sealant there. For wider gaps and joints, crews use backer rod, a closed-cell foam cord that gives sealant a proper foundation inside the joint, a standard detail noted by Sika.
Skip this step and nothing else matters. This is the single biggest reason stucco patches fail while professionals get lasting results: pros treat the patch as the last layer of a water management system, not as the fix itself.
If you found wet or soft wood behind the stucco, let it dry fully before closing the wall. Rushing this stage seals moisture inside, which is how mold problems start.
Step 4: Prepare the Surface So the New Material Actually Bonds
Bond failure is mechanical, and it is preventable. New stucco will not stick to dust, dirt, oil, or chalky old material. Every edge of the opening needs to be clean and sound.
A careful crew will:
- Brush and rinse the opening to remove all loose debris and dust.
- Undercut or square the edges so the patch locks in rather than feathering to nothing.
- Tape off adjacent trim, windows, and siding so patch material stays where it belongs.
- Dampen the surrounding stucco before applying new material.
That last step surprises homeowners, but it matters in Colorado. Dry old stucco pulls moisture out of a fresh patch before it can cure, which weakens the bond and causes shrinkage cracks. Wetting the substrate first lets the new material cure at its own pace and grip the old wall properly.
Step 5: Build the Patch in Coats, Not One Thick Smear
Stucco goes on in layers for a reason. Each coat needs time to set and shrink before the next one locks it in. A thick single application shrinks unevenly, cracks, and pulls away from the edges. If you are attempting a small exterior stucco patch yourself, apply one coat per day and let each set overnight. Professional crews can move faster because they control mix, thickness, and timing, but the principle is the same: layers, cured in order.
This is also the stage where quick-fix products fall short. Caulk smeared into a crack, or a fast-setting filler troweled over a hole, may look fine for a month. Neither moves with the wall or matches the strength of a proper cement patch, which is a core reason quick stucco patches fail where professional repairs hold.
Step 6: Match the Texture So the Patch Disappears
A structurally sound patch that shows is still a failed repair in most homeowners' eyes. Texture matching is a skill, and a bad match usually means the person doing the repair did not know the original finish technique. Even after painting, a patch with the wrong texture stays visible from the street.
Before work starts, ask whoever you hire how they plan to match your existing finish. A good answer names your texture type and describes the tool and technique they will use to replicate it. On homes in Meridian and Carriage Club, builder finishes tend to be consistent across the neighborhood, so a crew that works locally has usually matched that exact texture before. Color matching follows the same logic; the crew should test the match on the patch, not guess.
Step 7: Inspect the Repair the Right Way
Do not judge the repair the day it is finished. Fresh stucco changes as it cures. Check it after a few weeks, and again after the first hard rain or snowmelt.
Here is what a sound repair looks like:
- The patch sounds solid, not hollow, when tapped.
- Light finger pressure does not dent or flake it.
- No hairline cracks form around the edges of the patch.
- No staining returns after wet weather.
- The texture blends with the wall from ten feet away.
A patch that sounds hollow or gives under light pressure did not bond. Surface touch-ups will not save it; it needs to be broken out and redone. That standard is worth insisting on, because Colorado exteriors take real punishment. Hail alone made Colorado second in the nation for hail insurance claims from 2013 to 2015, with 182,591 claims, according to the Rocky Mountain Insurance Information Association. A weak patch does not survive that kind of weather.
When Patches Fail Anyway: What Professionals Check Next
A patch that fails after correct prep and application points to a cause that was never addressed. Professionals go back to the source: active settling, a plumbing or roof leak feeding the wall, or drainage pushing water at the foundation. No amount of stucco repair holds against water that keeps arriving, so the source has to be fixed before the wall is patched again.
There is also a limit to what any homeowner should take on. Soft stucco spreading around a window, musty smells inside, or damage covering more than a small area are signs to bring in someone who does this work daily. Opening a wet wall involves judgment calls about how far the damage runs, and guessing wrong in either direction costs money.
For a newer home where the builder will not respond, an independent repair done to the standard above is usually the practical path forward as of 2026. The goal is simple: fix the water path, remove everything that failed, bond the new material properly, and match the finish so you stop thinking about that wall. That is what a repair done right looks like, and it is a fair standard to hold any local Castle Rock crew to.
If you need stucco repair, Castle Rock Stucco Pros can help.
Prefer to talk it through? Call (720) 797-8506 — a quick call is usually the fastest way to get a straight answer for your situation.