How to Repair Stucco Cracks Step by Step: A Castle Rock, CO Guide
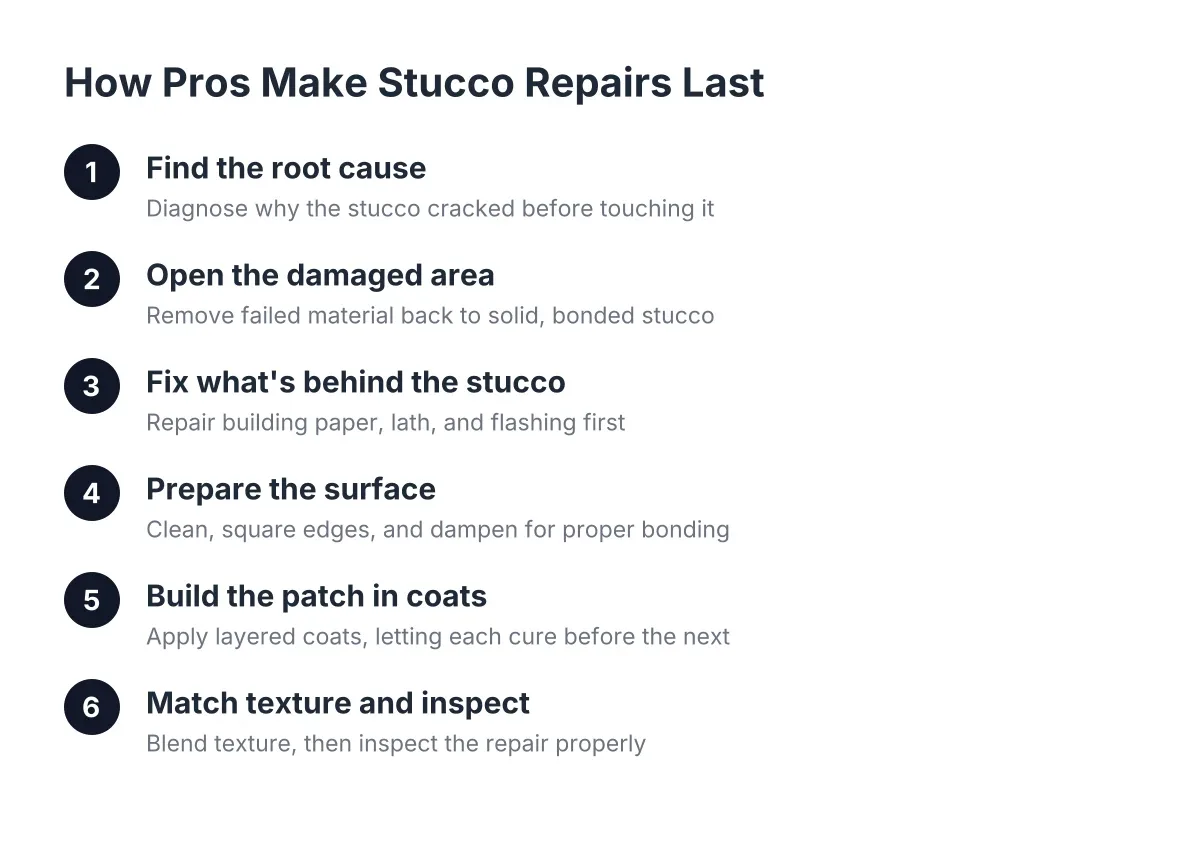
If you can stand in your driveway and point to the exact spot where your stucco was patched last time, this guide is for you. A good exterior stucco patch should disappear into the wall. When it doesn't, the problem is almost never the material; it's the process. Below is the step-by-step process a competent stucco crew follows to repair a crack in Castle Rock, CO, from the first inspection to the final texture blend. Whether you plan to try a small repair yourself or you want to know what to expect from a crew before you hire one, this is what the work looks like when it's done right.
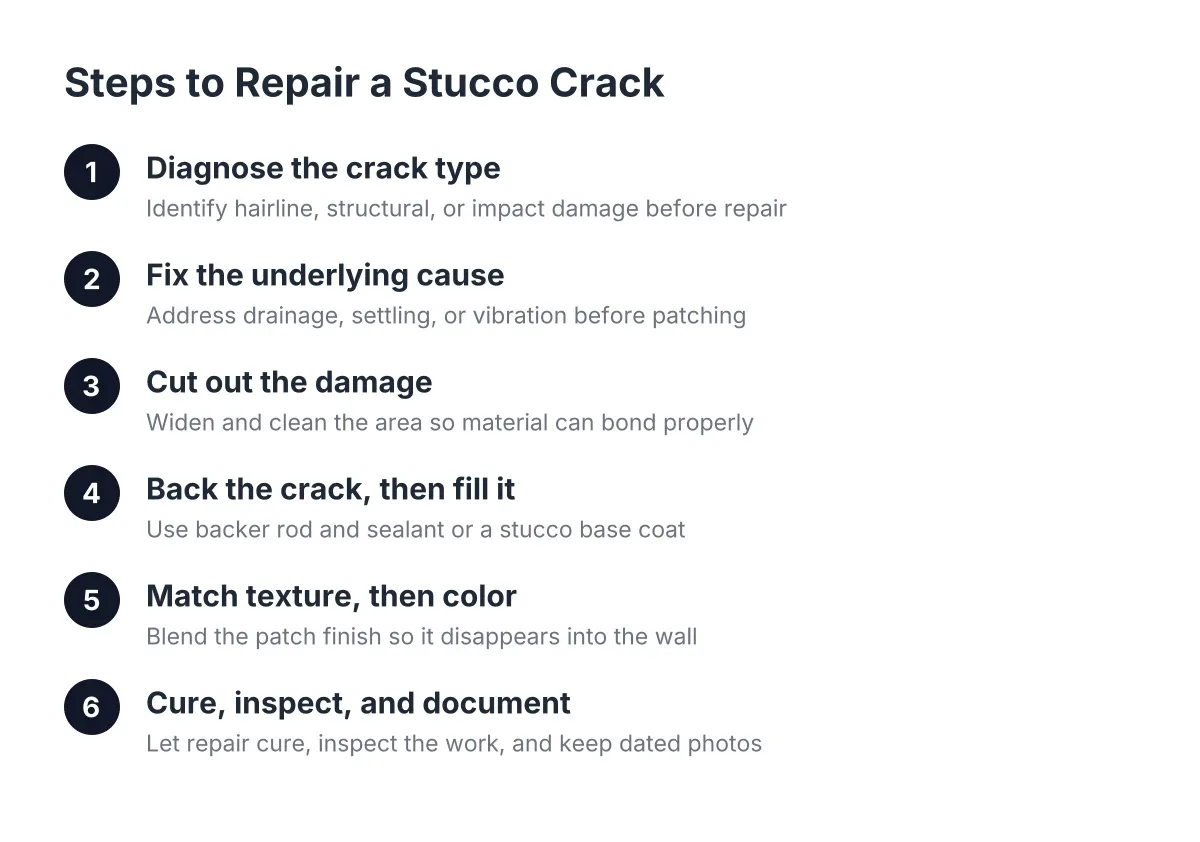
Step 1: Figure Out What Kind of Crack You Have
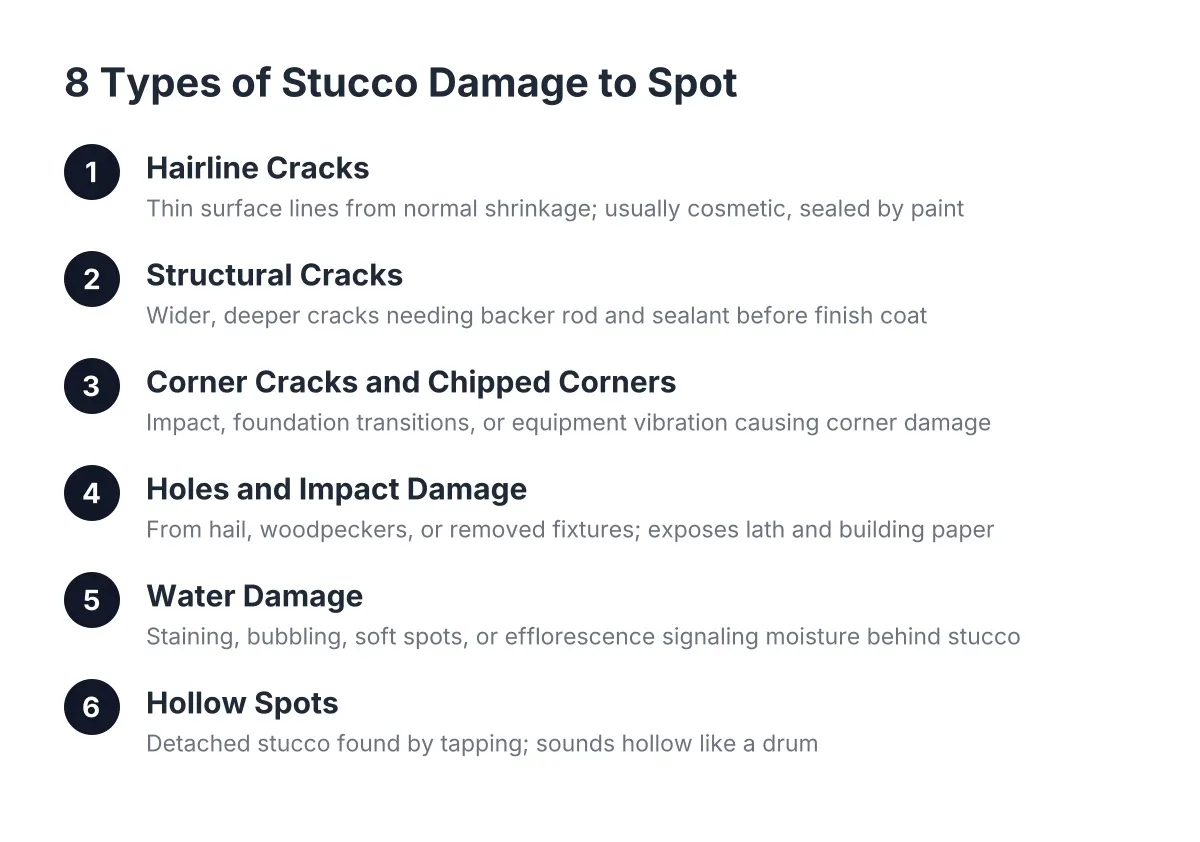
Before anyone mixes a bag of patch compound, the crack needs a diagnosis. Hairline cracks, structural cracks, and impact damage each call for a different fix, and treating them the same is how bad patches happen.
Hairline cracks are thin surface cracks, usually under an eighth of an inch wide. They often show up where stucco meets a harder material. For example, a corner crack where stucco sits on top of a concrete foundation is usually minor. The concrete and the stucco expand and contract at different rates, and the softer stucco gives first. That crack rarely signals a structural problem.
Structural cracks are wider and deeper. They run in longer lines, sometimes stair-stepping across a wall, and you can often fit a fingernail inside them. These need more than paint or a smear of caulk. They need to be opened up, backed properly, and sealed.
Impact damage is its own category. After a Front Range hailstorm, you may see chips, divots, and small holes rather than clean cracks. Hail is a serious issue here; Colorado had 182,591 hail insurance claims from 2013 to 2015, second only to Texas, according to the Rocky Mountain Insurance Information Association. If a storm hit your zip code recently and your stucco shows impact marks, photograph everything before any repair starts. Your insurance adjuster will want dated photos and a written estimate.
One warning worth taking seriously: a structural crack left open for years lets the building paper behind the stucco dry out and turn brittle. Once that paper tears from normal wall flexing, water gets behind the wall, and you're no longer looking at a patch. You're looking at water damage repair. That's the point where a professional inspection stops being optional.
Step 2: Fix the Cause Before You Fix the Crack
A patch over an unsolved problem is a patch you'll do twice. Before repair work starts, check what caused the crack in the first place.
Common causes in Castle Rock homes include:
- Poor drainage that keeps the base of the wall wet through freeze-thaw cycles
- Hail and wind-driven debris from spring and summer storms
- Settling, especially in newer construction as the soil compacts
- Vibration from nearby traffic or construction
- Old stucco that has simply weathered past its service life
If the cause is drainage, fix the grading or the downspout first. If it's settling, most homes stop moving after the first several years, and the repair will hold. However, if the wall is still moving, any rigid patch will crack again along the same line. A crew that skips this step is planning to see you again next year, whether they say so or not.
Step 3: Cut Out the Damage, Not Just the Crack
This is where most bad patches are born. A quick patch smeared over a crack telegraphs through the finish within a season. The right move is to open the crack up so the repair material has something to grab.
For a structural crack, that means widening it slightly with a grinder or chisel, then cleaning out all loose material and dust. For a hole or impact damage, cut back to sound stucco on all sides. The edges of the cutout should be clean and solid, not crumbling.
Here's a decision rule worth knowing if a previous patch already failed on your home. The technically correct fix for a badly deteriorated corner or a patch that keeps failing is to remove the stucco across the full wall section and redo it corner to corner. A spot patch inside an open wall plane will always be harder to hide than a repair that ends at a natural break like a corner, a window, or a control joint. It costs more, but it's the difference between a repair you can find and one you can't.
Step 4: Back the Crack, Then Fill It
Deep cracks need a backing before they get sealant. Backer rod, a closed-cell foam cord, is pressed into the crack to create a foundation for the sealant, according to Sika. Without it, sealant sinks too deep, cures wrong, and pulls away from the edges.
Once the backer rod is in, apply a flexible, paintable sealant rated for exterior masonry. Timing matters here. Large crack repairs with caulking go better in the early morning than in hot afternoon sun; heat makes the caulk skin over and behave poorly before you can tool it flat. In Castle Rock summers, that morning window is real, not a technicality.
For holes and larger cutouts, the fill is a stucco base coat rather than caulk. Modern polymer-modified, rapid-setting patch products can replace the old three-coat system in a single application, so a repair no longer needs separate scratch and brown coats. These exterior stucco patching compounds are sold at general hardware stores; a small repair kit with patch compound, latex additive, and corner mesh is a normal hardware-store shopping list. A basic stucco hole filler works for golf-ball-sized damage, but anything bigger needs mesh and a proper base coat. One more habit that separates careful work from sloppy work: apply stucco from the bottom of the repair area and work upward, so each pass supports the one above it.
Step 5: Match the Texture, Then the Color
This is the step the last contractor probably rushed, and it's why you can see the patch from the street. Texture matching is a skill, not a product. The patch compound in the bucket does not come out of the trowel looking like your wall.
Most Castle Rock homes carry one of a handful of common finishes: knockdown dash, sand float, lace, or a smooth santa-fe style. Each one is applied differently. A knockdown dash repair, for example, is done by spraying finish coat onto the patched area and then lightly troweling it down so the peaks flatten to match the surrounding wall. Spray too heavy or knock it down too early, and the patch reads as a different wall.
Color is the second half of the blend, and it's honestly the harder half. Your existing stucco has weathered under Colorado sun for years. Fresh finish coat, even tinted to the original color, will sit lighter or darker next to it. There are two honest ways to handle this:
- Feather the new finish past the patch edges and accept a close-but-visible color match that fades in over a year or two of weathering.
- Paint or fog-coat the full wall plane, corner to corner, so the whole section is one uniform color from day one.
A contractor who promises an invisible color match on a 15-year-old sun-baked wall without repainting the wall section is promising something the material can't deliver. That's the honest limitation of stucco repair, and any crew that has done texture matching for long will say so up front. On a heavily weathered wall, option two is usually the only path to a repair you truly cannot find.
Step 6: Cure, Inspect, and Document
Stucco needs time and moisture to cure properly. In dry Castle Rock air, that can mean misting the patch for a day or two so it doesn't dry too fast and crack on its own. Rushing this step undoes careful work in the steps before it.
After curing, inspect the repair from three distances: up close, from ten feet, and from the street in full sun. A patch that hides at arm's length but shows from the driveway is not finished. Raking afternoon light is the toughest test; if the repair passes then, it passes.
If insurance is involved, keep your paper trail. Colorado home insurance premiums rose 65% over the last five years, with hail cited as a major driver, according to the National Association of Insurance Commissioners. Adjusters see a high volume of stucco claims, and dated photos plus a written line-item estimate move a claim faster than anything else.
What an Exterior Stucco Patch Costs in Castle Rock
Pricing varies with damage size, wall height, and how much texture and color blending the finish requires. As rough 2026 estimates, not quotes: a single crack repair with backer rod and sealant might run a few hundred dollars, a hole or storm-damage patch with texture matching often lands between $500 and $2,000, and redoing a full wall section corner to corner for a true blend can reach several thousand. Insurance-driven storm repairs commonly fall in the $1,500 to $10,000 range depending on how many elevations took hail.
For example, suppose a homeowner in Castle Rock has a fist-sized handyman patch on the front elevation that dried smooth on a knockdown wall. Cutting out the old patch, rebuilding the base coat, spraying and knocking down new texture, and fog-coating that wall plane to unify the color might land around $1,200 to $1,800 in that scenario. The patch alone would be cheaper, and it would also be visible.
How to Fix a Bad Exterior Stucco Patch
If you already have a bad exterior stucco patch on your wall, the fix follows the same six steps with one addition: the old patch material usually comes out first. Patching over a failed patch stacks two layers of mismatch, and the hump it creates casts a shadow line you'll see every afternoon.
A second repair done right can absolutely blend in, even on an older wall, as long as the crew matches the texture method your wall was originally finished with and treats color as a full-plane decision rather than a spot decision. That's the difference between someone who does stucco every day and someone who carries a tub of patch compound in a general-purpose truck. When you're comparing local options, ask one question: how will you handle the color? If the answer is "it'll blend in" with no mention of feathering, fog coating, or painting the wall section, you already know how that patch will look from the driveway.
If you need stucco repair, Castle Rock Stucco Pros can help.
Prefer to talk it through? Call (720) 797-8506 — a quick call is usually the fastest way to get a straight answer for your situation.