Stucco Exterior Patching: Texture Matching Steps That Hide Repairs Completely
A stucco patch that fixes the damage but sticks out like a bandage is only half a repair. Good stucco exterior patching means that once the wall dries and gets paint, nobody can point to where the hole or crack used to be. Achieving effective stucco texture matching—so the repair blends seamlessly with the surrounding wall—matters whether you are fixing hail damage from a Colorado storm or getting a home ready to list in Castle Rock, Castle Pines, or The Pinery. This guide walks through the steps a careful crew follows to make a patch disappear, and it will help you judge whether the work on your house is being done right.
One note on why this is worth getting right in 2026: Colorado home insurance premiums rose 65% over the last five years, with hail cited as a major driver, according to the National Association of Insurance Commissioners. After a storm, a lot of exterior repairs get done fast and cheap. The ones that get redone later are almost always the patches that never matched the wall in the first place.
Step 1: Identify Your Home's Existing Stucco Finish
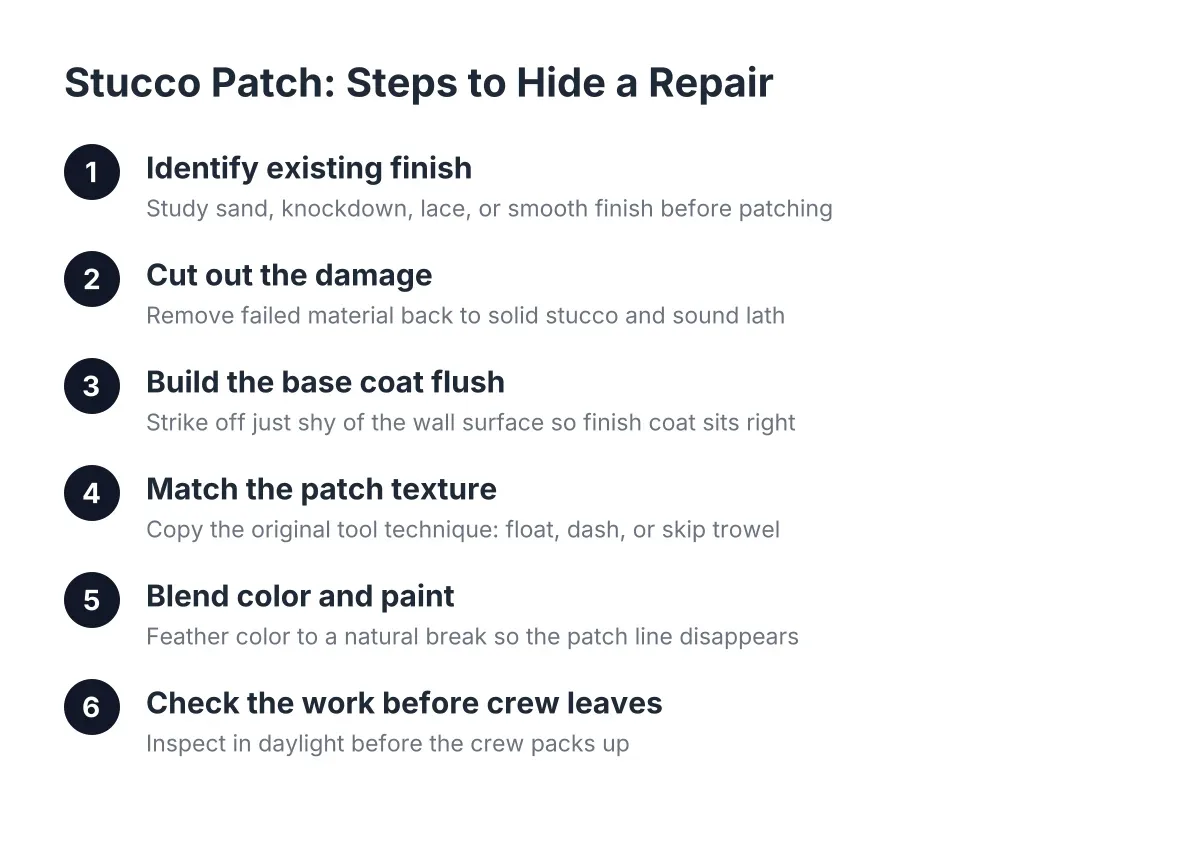
Before anyone mixes a bag of patch material, stand back and figure out what texture is already on your wall. Castle Rock homes mostly carry a handful of finishes, and each one needs a different tool and technique to copy:
- Sand or float finish: a uniform, grainy surface worked with a sponge float. The most common finish in newer subdivisions.
- Knockdown dash: material sprayed on, then lightly flattened with a trowel so the high spots spread out.
- Lace or skip trowel: irregular raised patterns with flat troweled tops, common on older homes.
- Smooth or santa fe: a tight, troweled surface with few texture breaks.
Here is the honest trade-off. Textured, flattened finishes forgive small imperfections, so patches blend into them more easily. Smooth finishes hide nothing; every trowel mark shows. If your home has a smooth finish, expect the texture matching step to take longer, and understand that a full-wall paint coat may be part of the plan from the start.
Take a photo of an undamaged section in good light. A crew doing proper exterior stucco repair will study that reference before touching the damaged area, not after the patch is already drying.
Step 2: Cut Out the Damage, Not Just the Surface
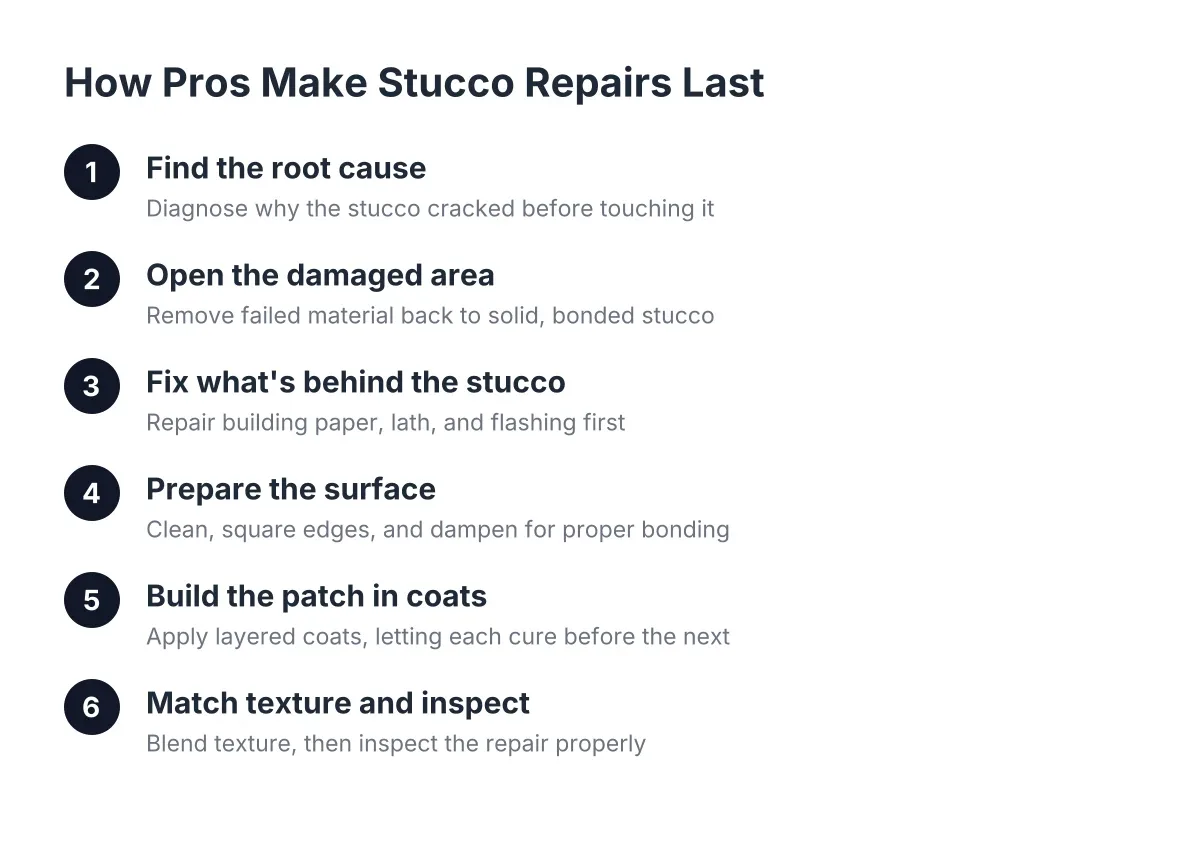
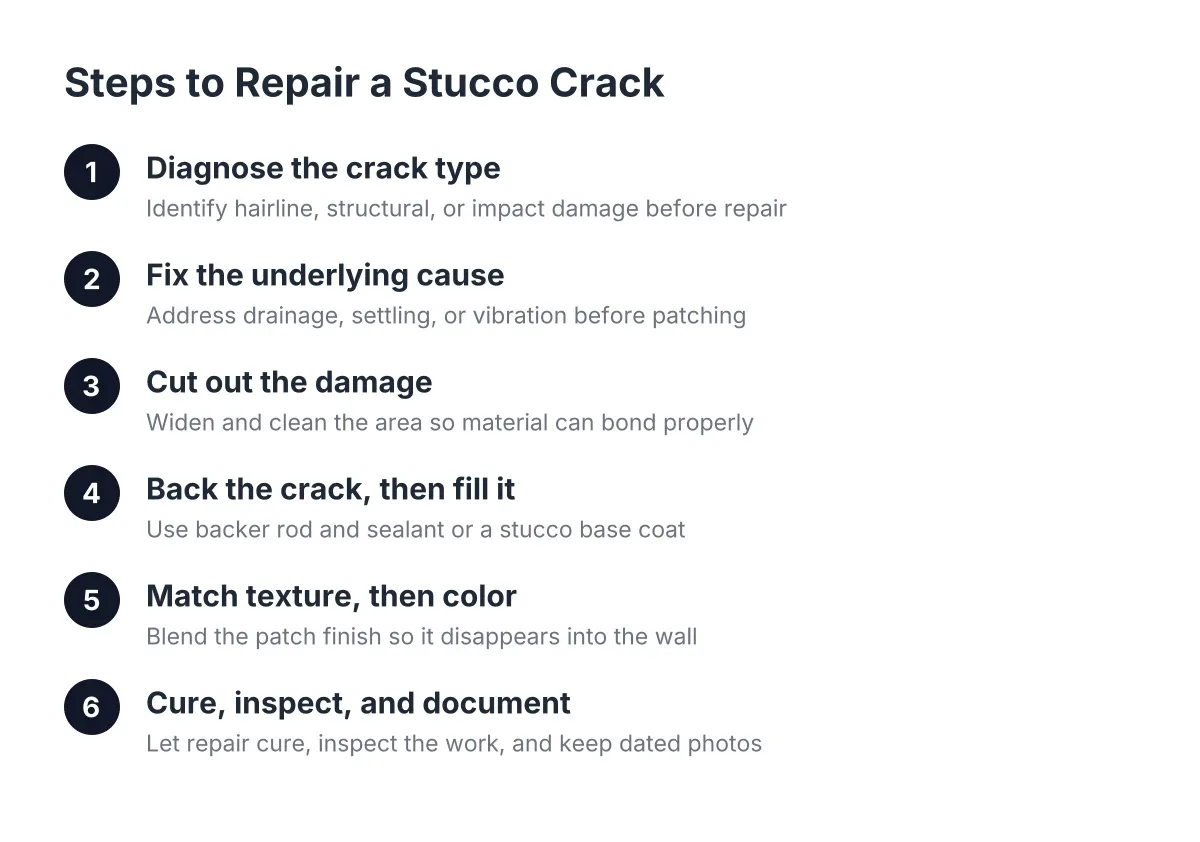
A patch that lasts starts with removing everything that failed. Chip out cracked or delaminated stucco back to solid material, and open hairline cracks into a clean groove so new material has something to grab. For a hole from hail or wind-driven debris, cut the opening back to sound stucco with clean edges rather than feathering mud over loose material.
Check what is behind the hole. If the lath or paper is torn, or if the wall shows water damage, that gets fixed first. Skipping this step is how a visible stain comes back through a fresh patch six months later. If you see soft sheathing, rot, or widespread moisture behind the stucco, stop and bring in a professional; that repair goes beyond patching.
For wider cracks, a closed-cell foam backer rod gives the sealant a proper foundation inside the crack before anything goes over it, a standard practice noted by Sika. It keeps the sealant at the right depth so it can flex without tearing loose.
Step 3: Build the Base Coat Flush With the Wall
The base coat, sometimes called the brown coat, does the structural work. Apply it in lifts if the hole is deep, and strike it off so it sits just shy of the surrounding surface. The finish coat needs room to sit on top without humping above the wall plane.
This is where most do-it-yourself patches go wrong. A base coat left proud of the wall telegraphs through every finish coat you put over it. However, if you catch it after it sets, you can usually knock down and scrape the high spots to bring it flush instead of tearing the whole patch out. Scraping is tedious; getting it flush the first time is faster.
Let the base coat cure before texturing. Rushing the finish coat onto a green base is a common reason a stucco repair cracks along the patch line within the first season. Quick-setting products cut the wait, but they also cut your working time, so mix small batches.
Step 4: Match the Stucco Patch Texture to the Wall
This is the step that separates an invisible repair from an obvious one. Pull out the reference photo from Step 1 and copy the original technique, not just the general look.
- For a sand finish, float the finish coat with a sponge float in the same circular motion used on the original wall. Then feather the new material slightly into the edge of the existing texture with the float. Feathering hides the patch line, which is the detail that gives most repairs away.
- For a knockdown dash, spray or dash finish material onto the cured patch, wait for it to firm up, then lightly trowel the high spots flat to match the surrounding wall. Timing is everything; knock it down too early and it smears, too late and it will not flatten.
- For a lace finish, trowel on irregular globs, let them set briefly, then skip a clean trowel across the tops at the same angle as the original work.
Match the aggregate size too. A fine-sand patch in a coarse-sand wall reads as a different material even when the pattern is right. Some premixed patch products troweled with a steel trowel produce a stucco-like texture on their own, which can work for small sand-finish repairs, but they rarely match dash or lace without extra texturing.
A poor texture match usually means the person doing the repair never identified the original finish type. If you are evaluating bids for stucco patching, ask each contractor to name your finish and describe how they will reproduce it. The answer tells you a lot.
Why Stucco Texture Matching Fails and How to Fix It
Sometimes a flawless texture match is not achievable; this is the honest limit of the trade. Old stucco that has weathered for 20 years has a surface character that fresh material cannot copy exactly, and faded color never matches new color straight out of the bag. In that case, the fallback is painting the entire wall or a full section from corner to corner, so the eye sees one uniform plane instead of a slightly different rectangle. A good crew tells you this up front instead of promising an invisible patch on a wall where it is not realistic.
Step 5: Blend the Color, Then Paint to a Natural Break
Texture is only half the disguise; color is the other half. Even with a solid texture match, a patch painted as a small square will show in afternoon light because the sheen and tone differ from weathered paint around it.
Therefore, paint from one natural break to the next: corner to corner, or control joint to control joint. The eye does not compare color across a corner, so the repaired wall reads as original. For a pre-listing seller, this is the difference between a buyer's inspector noting "patched stucco, workmanship unknown" and noticing nothing at all.
For example, suppose a hailstorm leaves three gouges on the west-facing wall of a home near Founders Parkway. A typical crew would cut out and patch all three, match the sand finish with a sponge float, then paint that entire west elevation rather than three touch-up spots. As an illustrative range, a job like that might run in the high hundreds to low thousands depending on wall size and access; treat that as a ballpark for planning, not a quote. Colorado sees enough hail that this scenario is routine; the state logged 182,591 hail insurance claims from 2013 to 2015, second only to Texas, according to the Rocky Mountain Insurance Information Association.
Step 6: Check the Work Before the Crew Leaves
Inspect the finished stucco repair in raking light, meaning early morning or late afternoon when the sun hits the wall at a low angle. Raking light exposes humps, trowel ridges, and texture mismatches that look fine at noon. Walk back 15 feet and scan the wall; if your eye snags on the repair, point it out while the crew is still on site. High spots can often be scraped and blended without redoing the patch.
Run through this quick list:
- Stand at the street. Can you find the patch without knowing where it was?
- Check the patch edges. Is the feathered transition invisible, or is there a visible ring?
- Confirm paint runs break to break, not spot to spot.
- If the repair followed water damage, ask what was fixed behind the stucco and get it in writing for your records, especially if an insurance claim or a buyer's inspection is involved.
That documentation matters more than people expect. If you filed a hail claim, photos and a written scope of the stucco repair back up what the adjuster approved. If you are listing the house, the same paperwork answers the inspector's question before it gets asked.
Why Local Texture Knowledge Makes Patches Disappear
Stucco finishes vary by region and by era. The dash finishes common on Parker and Castle Rock homes built in the 1990s differ from the sand finishes on newer builds, and a crew doing stucco repair in Parker, CO or Castle Rock week after week has already matched those exact textures many times. That repetition is what makes the match fast and the patch invisible.
It also makes the repair last. A permanent stucco repair in Castle Rock has to handle freeze-thaw cycles, intense sun, and the next hailstorm, which means proper base coats and cured materials, not a skim of filler troweled over a crack. If the patch is flush, the texture copies the original technique, the color blends to a natural break, and the wall behind it is dry and sound, the repair will outlast the question of where it was.
If you need stucco repair, Castle Rock Stucco Pros can help.
Prefer to talk it through? Call (720) 797-8506 — a quick call is usually the fastest way to get a straight answer for your situation.