Stucco Water Damage Repair: What Happens From Inspection to Finish Coat
You noticed a stain under a window, or a spot on the wall that feels soft when you press it. Maybe there is a crack that keeps coming back no matter how many times someone caulks it. Before you spend money, you want to know what stucco water damage repair actually involves, and whether the problem is cosmetic or something hiding behind the wall. This guide walks through the whole stucco repair process, step by step, the way a local Castle Rock crew would actually do it: inspect first, open only what needs opening, fix the cause, then rebuild the wall so the patch does not stand out.
One point of view up front. A contractor who quotes you a full repair scope without touching the wall is guessing. Water damage hides, and the only honest way to price it is to inspect first, open a small section if needed, and quote what the wall shows. The steps below follow that order on purpose.
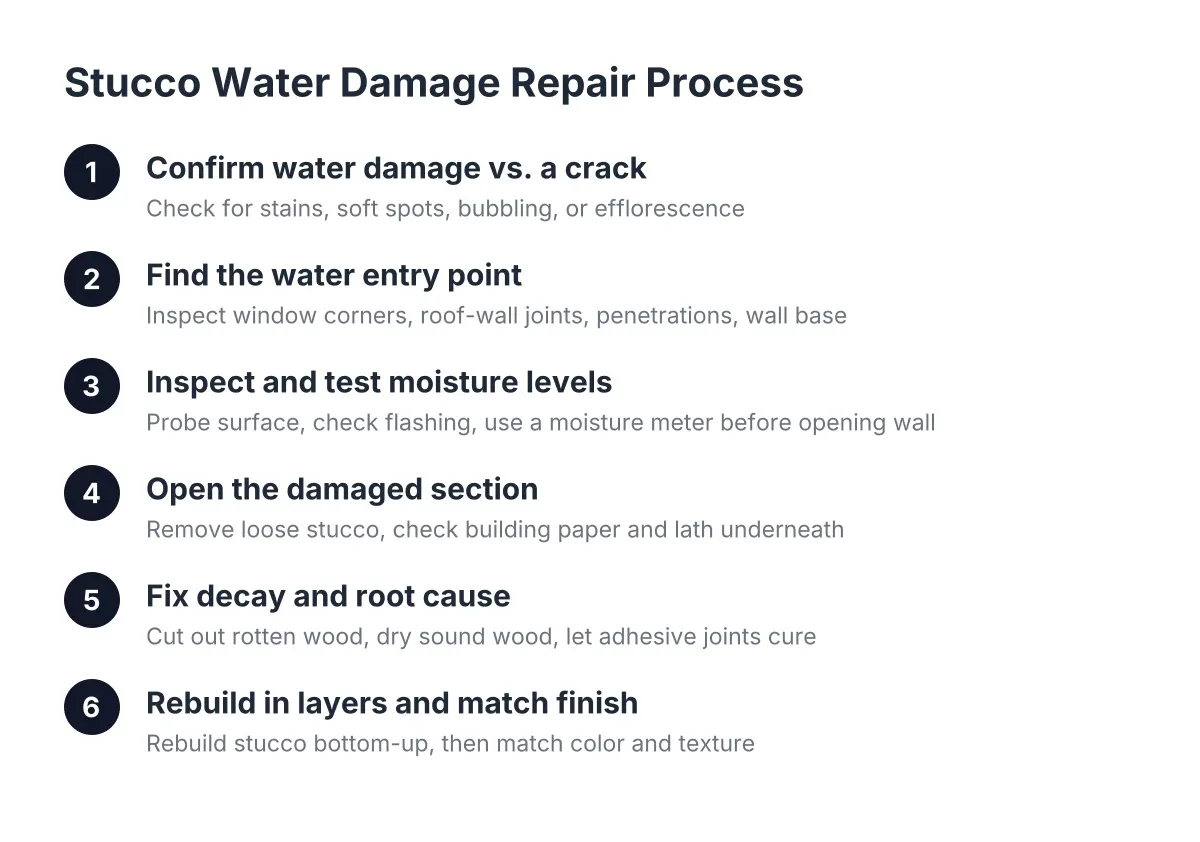
Step 1: Confirm You Are Looking at Water Damage, Not Just a Crack
Start by figuring out what kind of problem you have. A hairline crack by itself is usually a curing or settling issue, common on newer builds in neighborhoods like Stonegate, Meridian, and Carriage Club within the first few years. Water damage looks and feels different.
Check for these signs:
- Stains or dark streaks that show up or darken when the stucco gets wet after rain, then fade slowly
- A soft spot in the stucco wall that gives slightly under thumb pressure
- Bubbling, bulging, or flaking in the finish coat
- A crack that runs from a window corner with staining below it
- White chalky deposits (efflorescence) where water is moving through the wall
A crack in stucco with water damage behind it usually pairs with one of these other signs. A clean, tight hairline crack with no staining and no soft spots is a different, smaller job, closer to simple stucco crack repair than a water damage project. If your wall stays wet looking for a day or two after rain while the rest of the house dries, that section is holding moisture, and it is worth moving to the next step.
Step 2: Find the Entry Point Before Anyone Talks About Scope
Next, trace where the water gets in, because fixing the damage without fixing the entry just resets the clock. Water rarely comes through the field of the wall. It comes in at the breaks.
Look at these spots first:
- Window and door corners, where flashing gaps or failed sealant let water run behind the stucco
- Roof-to-wall intersections, especially where kickout flashing is missing
- Penetrations like hose bibs, light fixtures, and vents
- The bottom of the wall, where splashback or poor drainage pools water against the foundation
- Downspouts that dump water right at the base of a stucco wall
Drainage matters more than most homeowners expect. Water gathering near a foundation can cause slight settling over repeated wet seasons, and that settling shows up as damaged stucco corners and cracks. A patch on a corner like that will fail again if nobody fixes the gutter or grading problem feeding it.
Step 3: Understand the Stucco Repair Process Through Inspection and Testing
Does stucco water damage repair require opening the wall to diagnose? Not always. A careful inspection starts from the outside: probing suspect areas, checking flashing, and using a moisture meter to read what is behind the surface. The overall stucco repair and inspection process tells you whether the sheathing behind a stain is wet, and a pattern of readings maps how far the water has traveled. Opening the wall comes only after the readings justify it.
This is the step where honest contractors and scope-sellers part ways. If someone quotes a four-figure remediation from the driveway without a meter or a probe, that number is not based on your wall. A real inspection either confirms the damage is surface level, which means a smaller repair, or shows wet readings that justify opening a test section.
For example, suppose a homeowner in Castle Rock has a stain under a second-story window on a five-year-old house, and the builder's warranty response has gone quiet. An inspection in that scenario might find a missing bead of sealant at the window flange, wet sheathing in a two-foot band below it, and dry readings everywhere else. That turns a vague fear about the whole wall into a defined repair area, which is exactly what you want before anyone names a price.
Step 4: Open the Damaged Section and Remove Everything Loose
Once wet readings confirm damage, the crew cuts out the compromised stucco. This is the part that scares homeowners, and it should not. Opening the wall is how you stop guessing.
All loose, bulging, or buckling material has to come off, not just the stained part. Leaving loose stucco in place lets rain keep working into the wood behind it, and the damage keeps growing under a patch that looks fine from the street. The crew removes stucco back to solid, well-bonded material, then checks the building paper and sheathing underneath.
The building paper matters more than it gets credit for. On older damage that sat for years, the paper behind a flexing crack can turn brittle and tear, which opens a direct path for water to the wood. If the paper is torn or brittle in the opened section, it gets replaced along with any lath that has rusted or pulled loose.
Step 5: Fix Decay and Address the Root Cause in Your Stucco Repair Steps
With the wall open, now you deal with what the water actually did. Stucco rot behind the wall usually means wet or decayed sheathing, sometimes framing at window corners or wall bases. Rotten wood gets cut out and replaced; wet but sound wood gets dried before anything closes it in. Where wood repair pieces are bonded in with construction adhesive, the joint needs about 24 hours to cure before further work, according to Loctite, so this step sets the job's pace.
At the same time, the entry point gets corrected. That might mean new flashing at a window, kickout flashing at a roofline, or regrading and gutter work so water stops pooling at the foundation. Skipping this is the most common reason a water damage patch fails within a year or two. In addition, if equipment like an air conditioning unit sits against the wall transmitting vibration, that stress point needs attention too, or the same corner will crack again.
One honest limitation: if moisture readings are high across large areas of multiple walls, you are past repair and into remediation territory, and a structural or building-envelope professional should look at it before anyone patches anything. The same goes if a crack pattern suggests foundation movement rather than stucco movement.
Step 6: Rebuild the Stucco in Layers, Bottom Up
With dry wood, new paper, and new lath in place, the stucco goes back on in coats. The scratch coat keys into the lath, the brown coat builds the wall back to plane, and each coat needs proper cure time before the next. Rushing cure times is how patches crack early, which is a sore subject for owners of newer homes already dealing with improper curing from the original build.
Work runs from the bottom of the repair upward. This keeps each course supported and lets the coats tie together properly. On a window-corner repair, the technically correct approach for a badly deteriorated section is to take the stucco back to a natural break, such as corner to corner, rather than feathering a small patch into the middle of a wall. A smaller patch costs less and can hold up fine, but only if the underlying cause from Step 5 is truly fixed.
Step 7: Match the Color and Texture So the Patch Disappears
Finally, the finish coat. This is where stucco repair becomes a craft rather than a trade. The new finish has to match your home's existing texture and color, and a bad match announces the repair to everyone who drives past. A knockdown dash texture, common on Front Range homes, is matched by spraying finish coat onto the patched area and lightly troweling it down to blend into the surrounding wall. Other finishes need other techniques, and a mismatched patch usually means whoever did it never identified the original finish type.
Color matching takes judgment too. Stucco weathers, so matching the original mix color will not match a twenty-year-old wall. A good crew matches the wall as it is today, sometimes testing a sample area before finishing the full patch.
What the Complete Stucco Repair Process Steps Protect You From
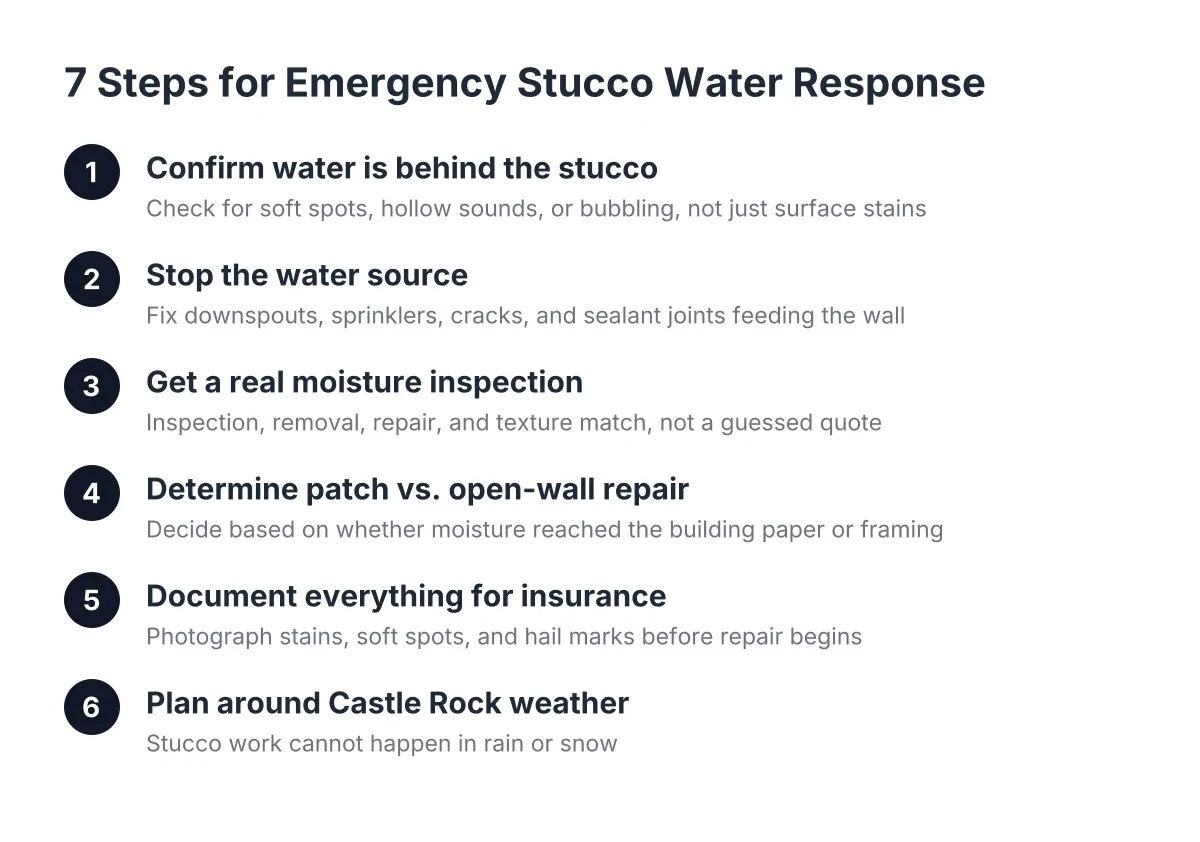
Put together, the sequence runs: confirm the damage, find the entry point, test moisture, open and clear the section, fix the rot and the cause, rebuild in coats, and match the finish. Each step exists because skipping it creates a specific failure. Skip the moisture testing and you pay for the wrong scope. Skip the cause and the patch fails. Additionally, Skip the texture matching and your wall advertises the repair.
Cost follows that same logic. A contained repair around one window runs far less than remediation across a wall, and the inspection in Step 3 is what tells you which one you are facing. That is also why "stucco water damage repair cost" has no honest flat answer; the wall sets the price, not the sales script. For Castle Rock homeowners, especially those in newer builds where the builder has stopped returning calls, the practical move is simple. Get the wall inspected and moisture tested by a local crew that works on stucco specifically, and insist on a scope based on what the inspection found, not on what a stain might mean.
Prefer to talk it through? Call (720) 797-8506 — a quick call is usually the fastest way to get a straight answer for your situation.