Stucco Crack Repair Before Selling: How to Protect Your Home’s Value
If you're getting a house ready to list in Castle Rock, handle stucco repair before selling — start with the crack repair before the first buyer pulls into the driveway. Cracked or badly patched stucco is one of the first things people see, and it plants a question in their head: what else did the owner let slide? This guide walks through the repair in order, step by step, the way a crew that works stucco every day would do it, so the fix lasts and the wall looks like one wall instead of a wall with a patch on it.
This matters double if you already had a quick patch done and it didn't blend. A visible patch next to a crack tells a buyer two stories, and neither one helps your price. The good news: a bad patch can be ground out and redone, and most cracks can be repaired and texture matched so the wall reads as original.
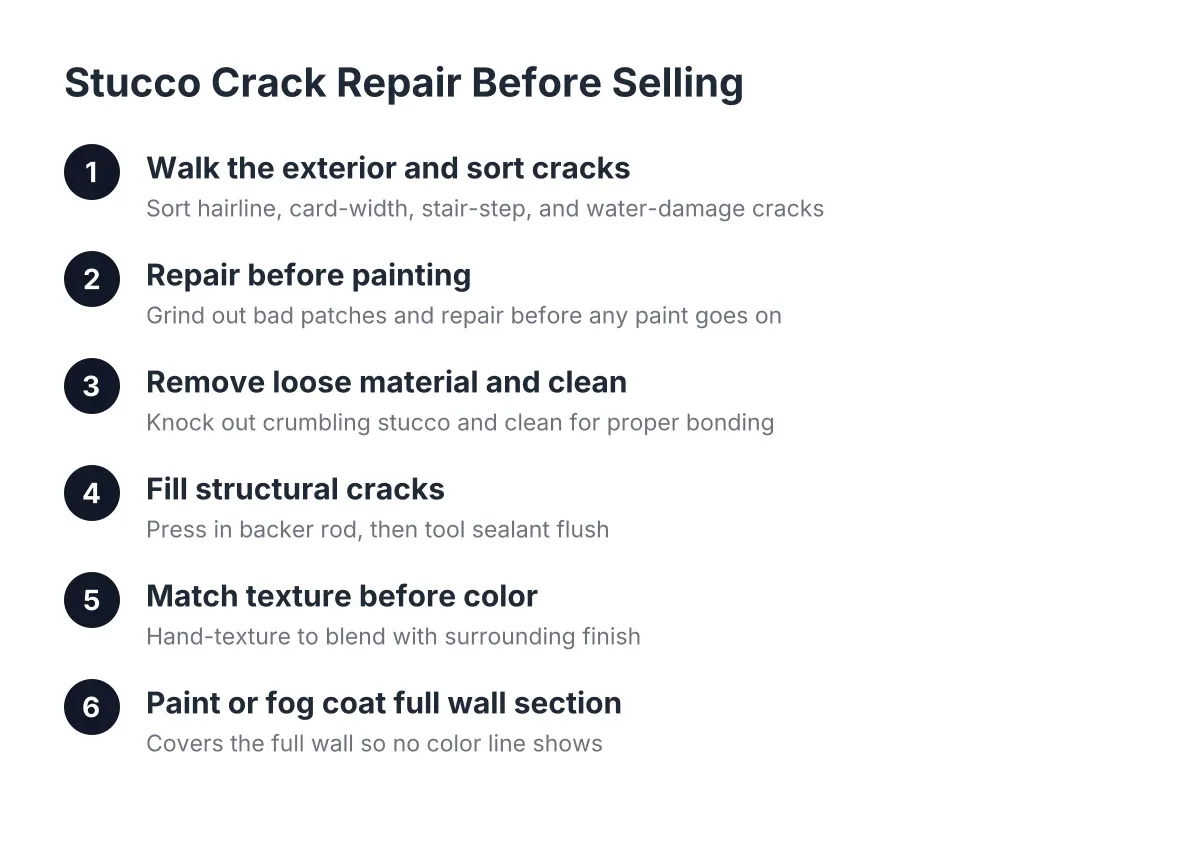
Step 1: Walk the Exterior and Sort Every Crack
Start with a slow lap around the house in good morning light. Carry a notepad, a flashlight, and something to measure with; a credit card works since it's about 1/32 inch thick. You're sorting cracks into two buckets, because the buckets get fixed differently.
So, is it normal for stucco to crack? Yes, within limits. Hairline cracks form as stucco cures and as the wall expands and contracts through Colorado's freeze and thaw cycles. Small cracks even show up after the first coat goes on during original installation; that's part of curing, not a defect. What matters is width, depth, and pattern.
Sort what you find like this:
- Hairline cracks (thinner than a credit card): Cosmetic. These don't need caulk; a quality elastomeric primer and paint will bridge and seal them on their own.
- Cracks you can slide a card into: These go deeper into the stucco and need to be opened up, caulked over backer rod, and re-textured.
- Stair-step or long diagonal cracks off window and door corners: These can point to movement in the structure. Note them and have a professional look before you repair.
- Corner cracks where stucco meets the foundation: Usually minor. The concrete foundation and the softer stucco expand and contract at different rates, and the stucco gives first.
- Soft spots, bulges, or staining around a crack: These suggest water damage behind the wall, which is a bigger repair than the crack itself.
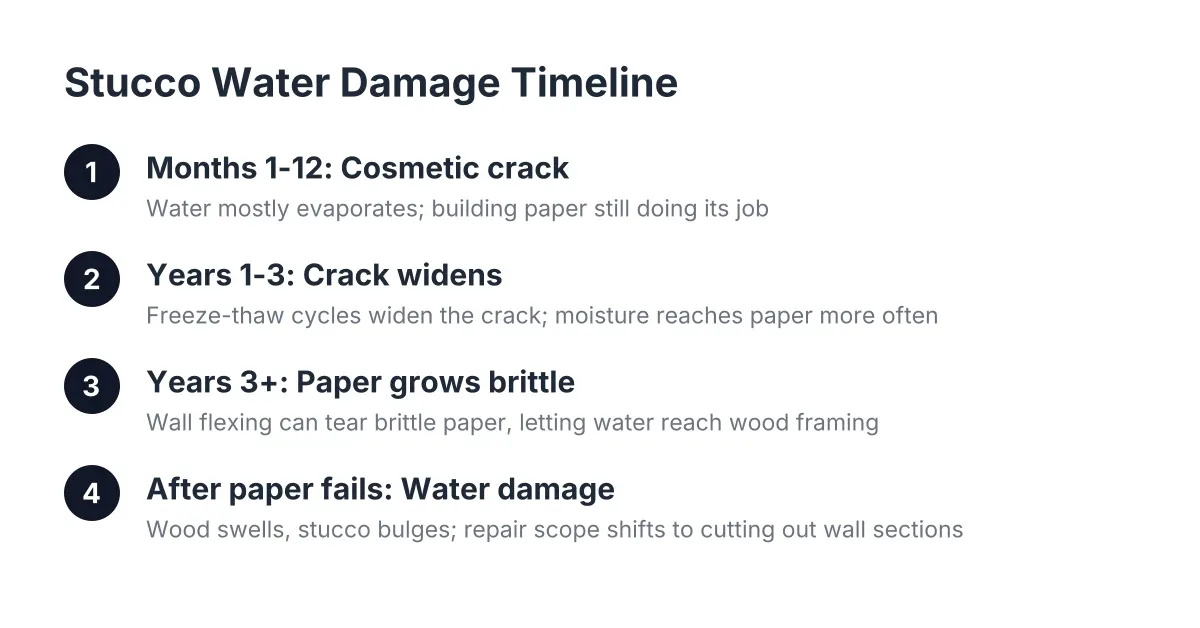
That last category is the one buyers and inspectors care about most. A structural crack left open for years lets the building paper behind the stucco dry out and turn brittle. Once the wall flexes and tears that paper, water gets to the sheathing, and you've gone from a crack repair to a stucco water damage repair. If you see soft or bulging stucco, stop and get a local stucco repair professional to open it up before you list; a fix the inspector flags as cosmetic cover-up will cost you more in negotiation than the repair would have.
Step 2: Repair Stucco Before Selling, Not After Painting
Do all stucco crack repair before painting, every time. Paint over an unrepaired crack and the crack telegraphs through within a season; paint over a bad patch and you've locked in the texture mismatch while making the color mismatch permanent. Repair first, texture match second, paint last. That order is the whole trick.
This is also where you deal with the patch that's been bugging you. If a previous handyman smeared caulk or premixed patch over a crack and it dried slick while the rest of your wall has a sand or lace finish, that patch has to come out or get reworked. Grinding out the old material and cutting back to sound stucco gives the new repair clean edges to blend into. Repairing over a bad repair almost never hides it; it usually makes the hump bigger.
Suppose a homeowner in Castle Rock had a fist-sized patch done two years ago near the garage, and it reads as a smooth gray square on a tan sand-finish wall. In that scenario, a typical crew grinds out the patch, checks the paper and lath behind it, rebuilds the patch in cement stucco, hand-textures it to match the surrounding sand finish, and fog-coats or paints the full wall section so there's no color line. Illustratively, addressing a repair like that — which might run a few hundred dollars to around a thousand depending on access and wall size — is cheap next to what a visible patch costs you in buyer confidence.
Step 3: Remove Loose Material and Clean the Crack
Before anything new goes on, everything loose comes off. Take a stiff brush or a margin trowel and work along each crack, knocking out crumbling stucco and flaking paint. If stucco is buckling, remove it back to material that's solid; leaving loose stucco in place lets rain keep working behind it and expanding any wood underneath, so the damage grows while the surface looks patched.
Next, clean the crack and the surrounding wall. Dust, chalky old paint, oils, and grease all prevent bonding, and a patch that doesn't bond is a patch that pops. Rinse, let it dry fully, and wipe down anything greasy near grills or dryer vents. Skipping this step is the single most common reason a repair fails inside a year.
Step 4: Fill Structural Cracks With Backer Rod and Sealant
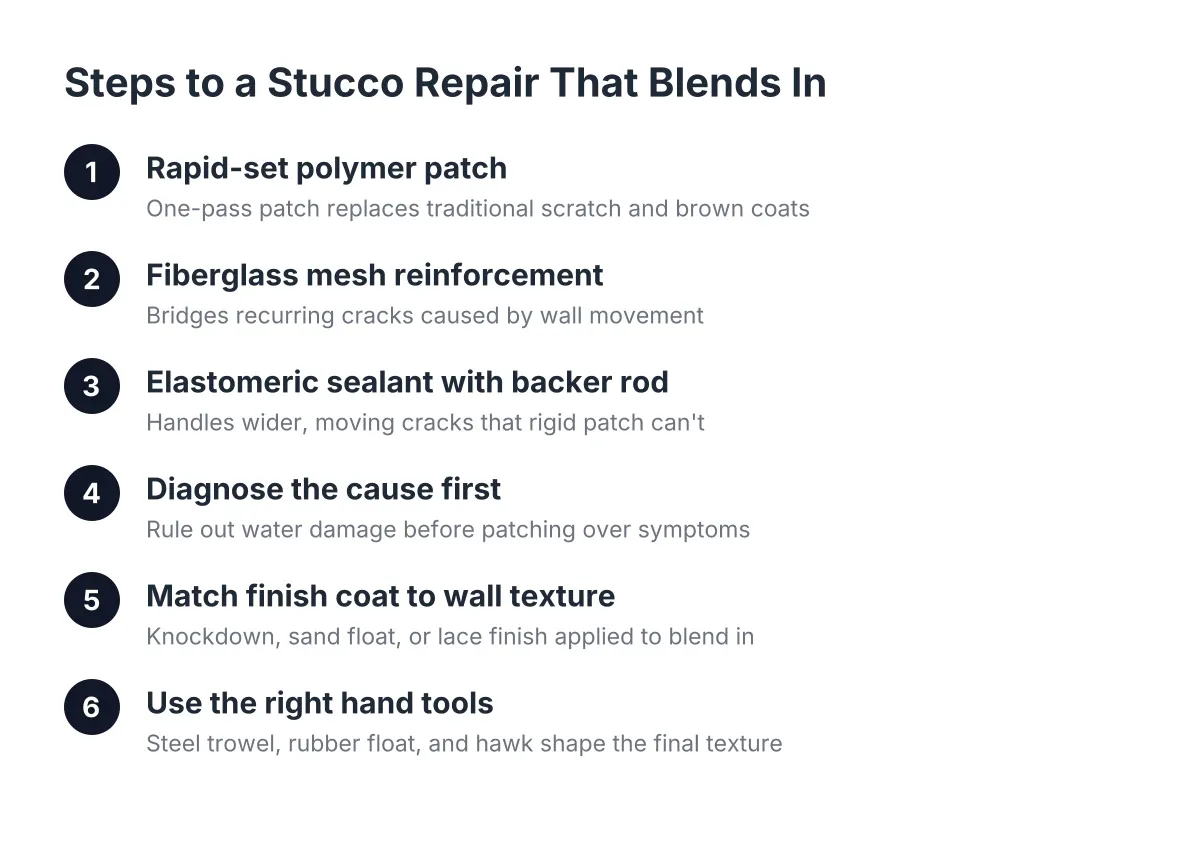
Wider cracks need more than surface sealant. For cracks deep enough to accept it, press in backer rod first; it's a closed-cell foam cord that creates a backing inside the crack before sealant goes on, according to Sika. The rod controls sealant depth so the caulk can flex with the wall instead of tearing.
Then run a quality polyurethane or elastomeric sealant over the rod and tool it flush. Timing matters here. Do larger caulking work in the early morning rather than in hot afternoon sun; heat makes caulk skin over too fast and cure poorly, and on a south or west wall in a Castle Rock summer that afternoon sun is no joke.
A note on materials: cement-based patch moves like the wall and takes texture well, while foam and caulk-only fixes flex but hold texture poorly. On a foam-trim or EIFS detail, foam-compatible materials are the right call; on traditional three-coat cement stucco, repair with cement stucco. Matching the repair material to the original siding material is half of why a patch blends or doesn't.
Step 5: Match the Texture Before You Think About Color
Texture is what separates a repair you forget about from a repair you see every day. After the sealant or base patch cures, the finish coat gets worked to copy the surrounding wall: sand float, lace, dash, or whatever your home has. A patch with the right color and the wrong texture still jumps out in raking light, which is exactly the light buyers see at a morning or evening showing.
This is the step where a homeowner DIY kit and a daily stucco crew part ways. A stucco crack repair kit can fill a hairline fine, but the premixed texture in a can rarely matches a hand-applied Castle Rock finish. If you've been burned by a patch that "would blend in" and didn't, texture is the skill that was missing. One honest caveat: on an older, weathered wall, a perfect invisible match isn't always possible on the patch alone, which is why the next step exists.
Step 6: Paint or Fog Coat the Full Wall Section
Never spot-paint a patch. Even a well-matched color dries a shade off against twenty years of sun-faded finish, and a clean rectangle of fresh paint is as obvious as the crack was. Paint or fog coat corner to corner on the repaired wall plane, so any color difference lands at a natural break where the eye expects a change.
For hairline-only walls, this step does double duty. A good elastomeric coating floods and seals hairlines without any caulking at all, so do hairline cracks need to be repaired separately first? No; sound hairlines get bridged by the coating, and only the card-width cracks needed the Step 4 treatment.
Step 7: Fix the Cause, Then Document Everything for Buyers
A crack is a symptom. If a downspout dumps water at the foundation, if sprinklers soak the wall nightly, or if a gate slams against that corner every day, the crack comes back after you've sold or, worse, during the inspection period. Redirect the water, move the sprinkler head, pad the gate. A partial patch is a fair, cost-effective repair, but only if the cause gets handled too.
Finally, keep records. Photograph each crack, document the repair, and save the invoice. Buyers in 2026 are cautious; Colorado homeowners have watched insurance premiums rise 65% over the last five years, with hail a major driver, according to the National Association of Insurance Commissioners. A seller who can show exterior stucco repair before selling was done properly, by a local crew, with the cause addressed, turns a red flag into a checked box.
For Landlords: Stucco Repair Before Selling a Rental Property
The same order applies if you're turning over a rental in Castle Rock, Parker, or Lone Tree, just with different priorities. Handle crack repair before the unit re-lists, prioritize the Step 4 sealing work that stops water, and accept a close texture match rather than a perfect one on walls tenants won't scrutinize. Budget most of the money for anything soft or stained, since water damage behind stucco is what fails a turnover inspection, not a hairline.
Done in this order, the repair holds through showings, inspections, and the seasons after. The wall stops being the thing you notice from the driveway, which is the whole point.
If you need stucco repair, Castle Rock Stucco Pros can help.
Prefer to talk it through? Call (720) 797-8506 — a quick call is usually the fastest way to get a straight answer for your situation.