Hairline vs. Structural Stucco Cracks: Which Ones Need Repair Now
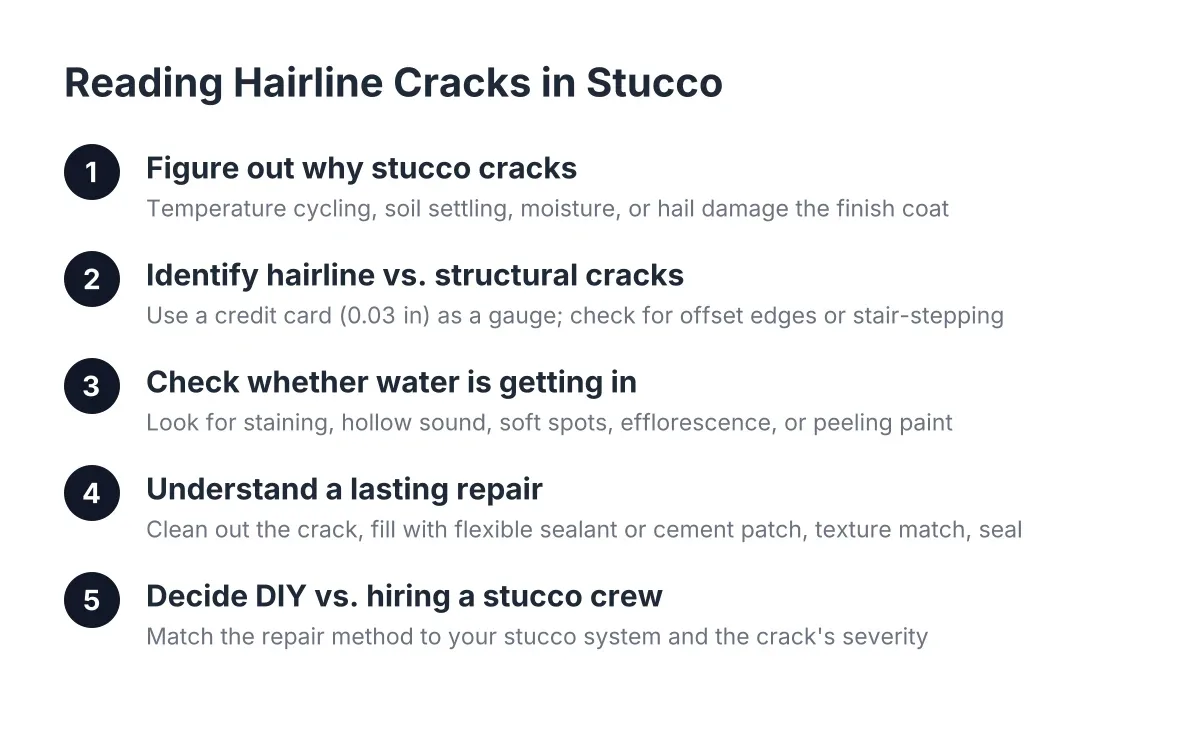
A crack in your stucco is the wall telling you something. The question is whether it's saying "normal aging" or "water is about to get behind me." Crews that repair stucco every day read hairline vs structural cracks the same way a mechanic reads a noise: width, depth, location, and pattern tell you what's happening behind the wall before you ever open it up. This guide walks you through how to tell the difference yourself, step by step, and what a proper repair looks like for each type.
This matters most after a storm. Colorado hail hits stucco hard, and it hits often. Colorado had 182,591 hail insurance claims from 2013 to 2015, the second-highest total in the country, according to Rocky Mountain Insurance Information Association. If a recent hailstorm left cracks in your stucco siding, sorting cosmetic from structural is the first thing to do before you call anyone, including your insurance adjuster.
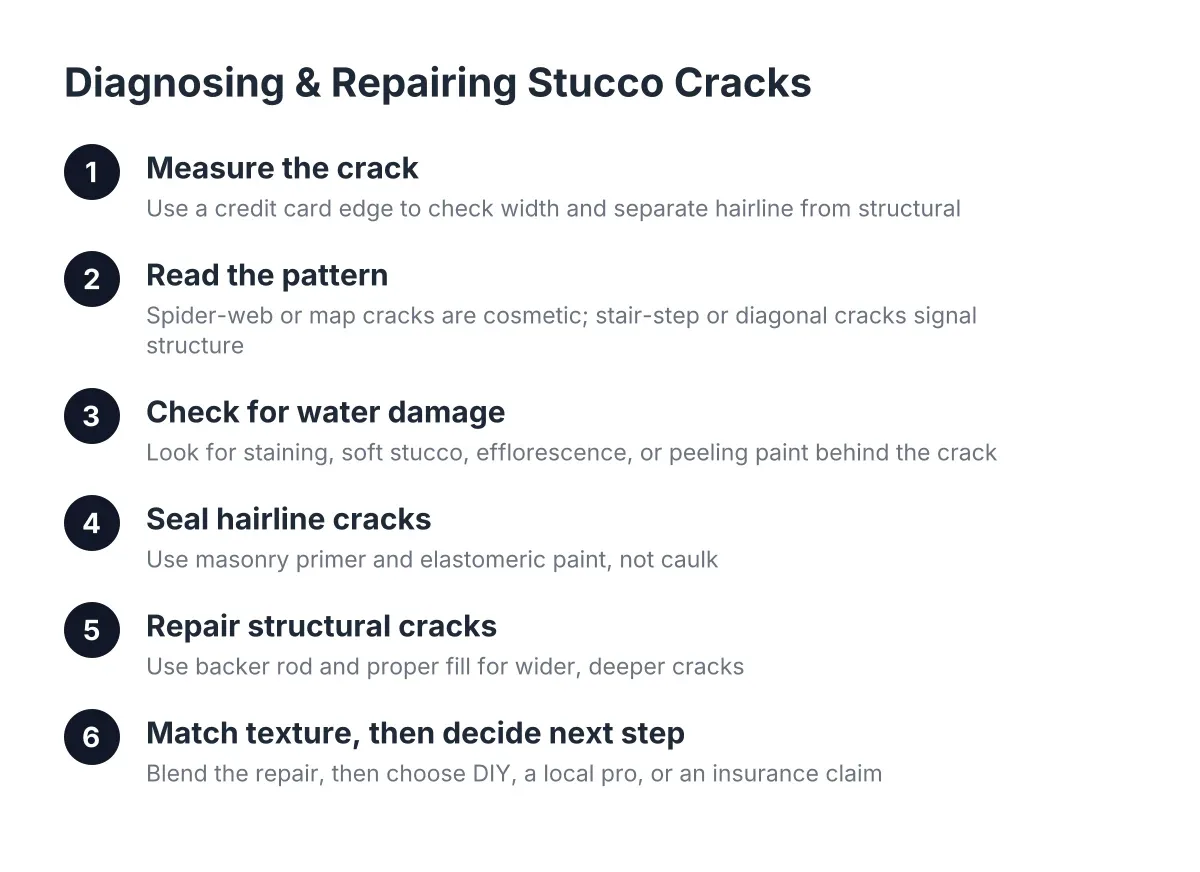
Step 1: Measure the Crack Before You Judge It
Start with width, because width is the single fastest way to separate hairline from structural cracks. Grab a credit card and hold the edge against the crack.
- Thinner than a credit card edge (about 1/32 inch): hairline, almost always cosmetic
- Credit card width up to about 1/16 inch: borderline, watch it or seal it
- Wider than 1/16 inch, or wide enough to slide a dime into: treat it as structural until proven otherwise
Depth matters too. Press a fingernail or a thin blade into the crack. A hairline crack sits in the finish coat only; you'll hit solid material right away. A structural crack goes through the finish coat into the base coats, and sometimes all the way to the lath and building paper behind the stucco.
In 2026 the basic physics haven't changed: stucco is a rigid cement coating on a house that moves. Small movement makes small cracks. Big or repeated movement makes big ones.
Step 2: Read the Pattern of Hairline and Structural Stucco Cracks
Once you know the width, look at the shape and location. Pattern tells you the cause, and the cause tells you whether the crack will come back after repair.
Hairline patterns that are usually not a concern:
- Spider-web or map cracking spread across a wall section, often from the original curing when the stucco siding was installed
- Short random hairlines with no clear direction, common on newer builds in their first few years
- A fine crack at a corner where stucco meets the concrete foundation; the hard foundation and softer stucco expand at different rates, and the crack forms at the seam
Patterns that point to something structural:
- Stair-step cracks that follow a diagonal path, often from foundation settling
- Long vertical or horizontal cracks wider than 1/16 inch, especially near windows, doors, or where an addition meets the original house
- Cracks paired with bulging, soft spots, or hollow-sounding stucco when you tap it, which suggests delamination
For newer homes in neighborhoods like Stonegate, Meridian, or Carriage Club, early cracking within the first one to five years is common as the house finishes settling and the stucco finishes curing. Small cracks after the first coat cures are normal, not a defect. However, wide diagonal cracks on a five-year-old home deserve a professional look, especially if the builder warranty has already run out.
Step 3: Check for Water Damage Behind the Crack
Before repairing anything, find out whether water has already gotten in. This changes the whole scope of the job.
Look for these signs around and below the crack:
- Staining or discoloration on the stucco surface
- Soft or crumbly stucco when you press on it
- Efflorescence, the white chalky mineral deposit water leaves behind
- Peeling paint or moisture inside the house on the wall behind the crack
Here is why timing matters more than most homeowners think. Behind your stucco sits building paper, the water barrier protecting the framing. Leave a structural crack open for years and that paper dries out and gets brittle. Then normal wall flexing tears it, and now water isn't just wetting the stucco; it's reaching the wood behind it. At that point you've moved from stucco crack repair into stucco water damage repair, which costs more and takes longer.
Suppose a homeowner in Castle Rock notices a 1/8-inch crack under a window after a June hailstorm and lets it ride through two winters. Freeze-thaw cycles pump water into that crack all season. By spring, an illustrative repair that might have run a few hundred dollars as a simple crack fix could become a cut-out-and-rebuild patch in the low thousands, framed here as a rough estimate, not a quote.
Step 4: Seal Hairline Cracks the Right Way (Not With a Caulk Gun)
Here is where most DIY guides get it backwards. A true hairline crack usually does not need caulk at all. Forcing stucco crack filler into a hairline leaves a smooth, shiny bead that never matches the surrounding texture, and you'll see it every time you pull into the driveway.
Instead, a good quality elastomeric primer and paint will flood, bridge, and seal a hairline on their own. The paint flows into the crack and moves with the wall. The steps:
- Brush the crack clean with a stiff nylon brush; no wire brushes, they scar the finish
- Rinse and let the wall dry fully
- Apply a high-quality masonry primer, working it into the crack
- Top-coat with elastomeric or premium exterior paint, matching the existing color
The trade-off: paint-only sealing works for hairlines, but if the crack keeps moving and reopens through the paint within a year, it was never cosmetic. That reopening is your signal to move to the structural repair method below.
A store-bought stucco crack repair kit or tube of stucco patching compound has its place, but only on cracks wide enough to hold material. Used on hairlines, DIY kits create texture mismatches that are harder to fix than the original crack.
Step 5: Repair Structural Cracks With Backer Rod and Proper Fill
Structural cracks need a different approach because they are wider, deeper, and still moving. Painting over them fails within a season. The proven method:
- Widen and clean the crack. Open it slightly with a scoring tool so the repair material has something to grip, then blow out the dust.
- Install backer rod. Backer rod is a closed-cell foam cord pressed into the crack to create a backing before sealant goes in, according to Sika. It keeps the sealant at the right depth so it can stretch instead of tearing.
- Fill with a flexible polyurethane or stucco-grade sealant. This is where caulking belongs, forced into a cavity over backer rod, not smeared across a hairline.
- Apply a stucco repair patch over the sealed crack. A skim of patching material rebuilt to match the surrounding texture hides the repair line.
- Prime and paint the patched area, blending the color into the existing wall.
Two field habits make this repair last. Work bottom to top, since stucco work is applied from the bottom upward. And on large caulking jobs in summer, work early in the morning; caulk applied in hot afternoon sun cures poorly and can fail early.
One honest limitation: sealing the crack does not fix what caused it. A stair-step crack from poor drainage or settling will return unless the underlying cause gets addressed. For those, and for any crack paired with bulging or soft stucco, bring in a professional before you fill anything.
Step 6: Match the Texture So the Repair Disappears
A structurally sound repair that looks like a scar is still a failed repair in most homeowners' eyes. Texture matching is the difference between a patch you notice and one you forget.
Stucco textures vary: sand float, dash, skip trowel, lace. Matching means duplicating both the aggregate size and the application technique, then feathering the new material into the old so there's no hard edge. Color matching adds another layer, since existing stucco has weathered and faded. Sometimes the right call is painting the full wall panel rather than spot-painting the patch.
This is where a stucco-focused local crew earns its keep over a general handyman. Someone who patches stucco occasionally can make it solid. Someone who does exterior stucco repair daily can make it invisible.
Step 7: Decide DIY, Local Pro, or Insurance Claim
With the crack diagnosed, choose your path based on what you found:
- DIY with primer and paint: true hairlines, no water signs, no movement pattern
- DIY with backer rod and sealant: a single stable structural crack, if you're comfortable matching texture, and willing to accept a visible repair
- Local stucco repair pro: multiple structural cracks, any water damage signs, texture matching that needs to blend, or a newer home where cracking may signal an installation defect
- Insurance claim plus a pro: widespread cracking after a documented hail or wind event
Storm damage deserves its own note. Hail is a major driver behind Colorado home insurance premiums rising 65% over the last five years, according to the National Association of Insurance Commissioners, and adjusters look closely at stucco claims. Photograph everything before any repair: wide shots of each wall, close-ups with a coin for scale, and the date. If an adjuster flags your stucco after a storm, an independent assessment from someone who works with hairline and structural stucco cracks daily helps you know whether the adjuster's scope covers what actually needs fixing.
When Hairline vs Structural Stucco Crack Confusion Costs You
The expensive mistakes run both directions. Homeowners caulk hairlines that only needed paint, creating ugly beads that never blend. Or they paint over structural cracks that needed backer rod and sealant, then watch the crack reopen and let water in for another two winters.
Therefore, the diagnosis in Steps 1 through 3 is the whole game. Ten minutes with a credit card, a fingernail, and a close look at the pattern tells you more than any product label. Fix hairlines with good paint, fix structural cracks with backer rod, sealant, and a matched patch, and fix the cause behind any crack that keeps coming back. Do that, and the repair holds through Castle Rock's freeze-thaw winters instead of becoming next spring's bigger project.
If you need stucco repair, Castle Rock Stucco Pros can help.
Prefer to talk it through? Call (720) 797-8506 — a quick call is usually the fastest way to get a straight answer for your situation.