Stucco Repair After Freeze-Thaw Damage in Castle Rock, CO: Stop It From Spreading
Colorado winters are hard on stucco. Water gets into a hairline crack in October, freezes overnight, thaws by noon, and does it again the next day. By March, that hairline crack is wider, the edges are crumbling, and moisture has a clear path to the paper and wood behind the wall. This guide walks you through freeze-thaw stucco crack repair, step by step, so a small winter problem does not become a wall rebuild by summer. It is written for homeowners in Castle Rock, CO, including anyone getting a house ready to list who needs the wall to look right, not patched.
The stakes here are not cosmetic. Once the building paper behind stucco gets torn or brittle, water intrusion moves from the surface into the wall itself. Fixing that costs many times more than fixing a crack. The steps below are ordered the way a stucco crew would actually work the problem.
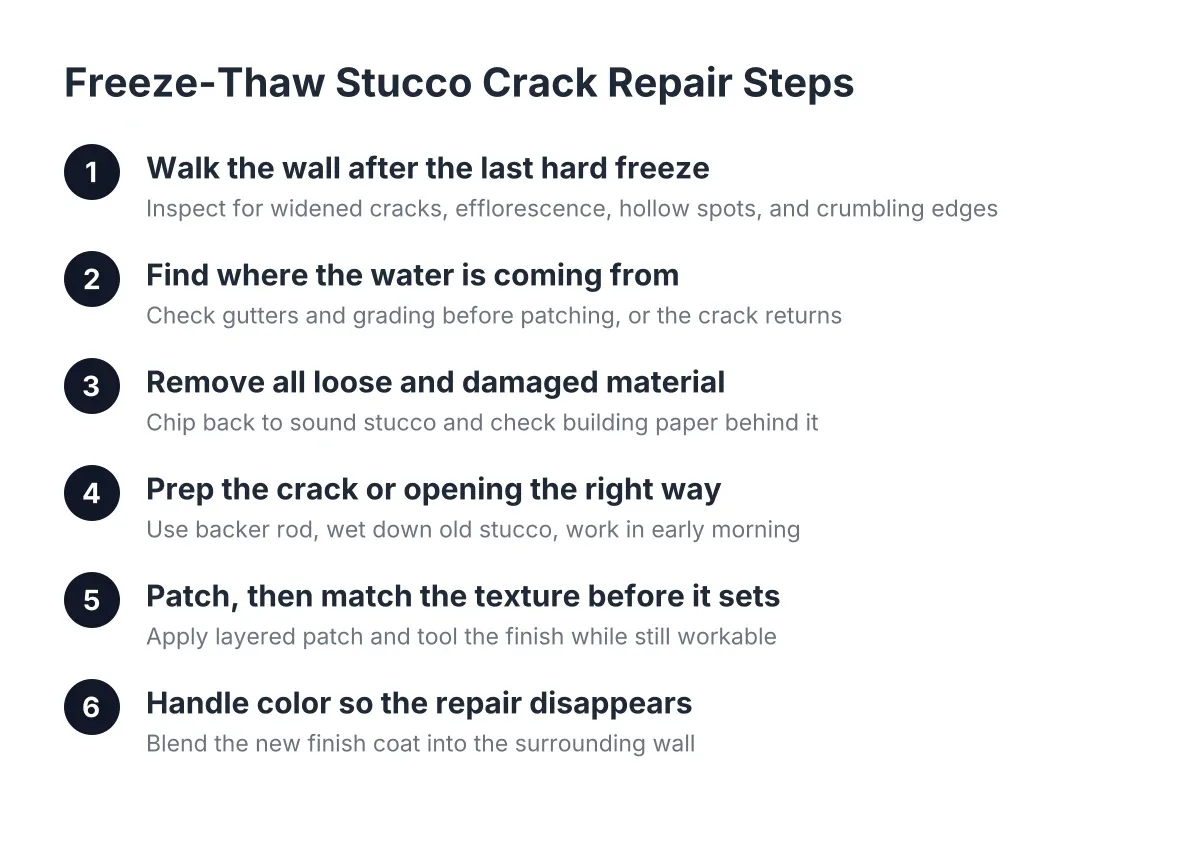
Step 1: Walk the Wall After the Last Hard Freeze
Do a slow inspection of every stucco surface once the freeze-thaw cycling slows down, typically late spring in Castle Rock. Morning light at a low angle works best because it throws shadows across texture and shows cracks that flat midday light hides.
Look for these specific signs of freeze-thaw damage:
- Hairline cracks that have widened since fall, especially ones you can slide a fingernail into
- White, chalky staining (efflorescence) below cracks, which means water is moving through the wall
- Bulging or hollow-sounding sections; tap with your knuckles and listen for a drum sound
- Crumbling or flaking at crack edges, a sign the ice has been working the material apart
- Soft or dark spots near the foundation, downspouts, and window sills
Pay extra attention to corners near mechanical equipment. An air conditioning unit that vibrates against or near the wall, combined with water pooling at the foundation, is a common cause of corner damage that gets blamed on weather alone.
Step 2: Find Where the Water Is Coming From
Fixing the crack without fixing the water source means you will do this again next spring. Before any patching, trace the moisture path. Check that gutters are attached and actually moving water away from the wall. Look at grading; soil that slopes toward the house pools water against the stucco base, and that water is what freezes.
A stucco patch on a wall with a broken downspout or no gutter system will fail again. The freeze-thaw cycle needs water to do its damage, so cutting off the supply is half the repair. This is also the difference between a repair that holds and the kind of quick patch that leaves an obvious scar you stare at every time you pull into the driveway.
Step 3: Remove All Loose and Damaged Material
Take off everything that is loose, buckled, or crumbling before any new material goes on. This is the step rushed crews skip, and it is why bad patches fail and look bad. Loose stucco left in place traps water against the wood behind it, and rain keeps expanding that wood until the patch pops or cracks around its edges.
Chip back to sound, solid stucco. If the crack has been open through multiple winters, expect the opening to grow once you start removing material; freeze-thaw damage is usually wider under the surface than it looks on top. Check the building paper behind the removed section. If a structural crack sat open for years, the paper behind it may be brittle enough that normal wall flexing has already torn it. Torn paper means water has been reaching the sheathing, and that changes the scope of the job.
This is the point where a professional inspection earns its cost. If the sheathing is soft or you find widespread paper failure, stop; that is beyond a surface repair, and patching over it hides a problem a buyer's inspector will find later.
Step 4: Prep the Crack or Opening the Right Way
Preparation decides whether the repair lasts. For wider cracks, a backer rod, which is a closed-cell foam cord, goes into the crack first to create a proper backing before sealant is applied, according to Sika. Sealant pushed into an open crack with no backing tends to fail early.
Two prep details matter for freeze-thaw stucco crack repair in a dry climate like Castle Rock:
- Wet down the existing stucco around the repair before applying new material. Dry, old stucco wicks moisture out of a fresh patch fast, which weakens the bond and causes shrinkage cracks around the patch edge.
- Time the work for early morning on larger crack repairs that involve caulking or sealant. Hot afternoon sun makes caulk cure poorly and behave badly during application.
Work from the bottom of the wall upward. That order keeps fresh material from being disturbed and matches how the wall sheds water.
Step 5: Patch, Then Match the Texture Before It Sets
Apply the patch material in the layers the original wall was built with; stucco is a layered system, and a single thick smear does not behave like the wall around it. A fiber-reinforced patch material, properly cured, stays flexible enough to move with the wall and shrug off the occasional hit from a lawn mower or a kicked ball.
Texture matching happens while the finish coat is still workable, not after. Castle Rock homes carry a handful of common finishes, and each is tooled differently: a sand float finish is worked with a float in circular passes, a lace or skip-trowel finish is dashed on and knocked down at the right moment, and a heavier dash finish is flicked on and left alone. Matching means testing the technique on a scrap board first, then working the wet patch until it reads the same as the wall from ten feet away.
If you already have a patch that does not match, this is where it gets fixed. The failed patch comes off or gets scored and skimmed, and the new finish coat gets carried past the old repair edges onto the surrounding wall. Blending into the field of the wall is what makes the repair disappear; stopping the finish coat exactly at the patch line is what makes it obvious.
Step 6: Handle Color So the Repair Disappears
Color is where most "close but not right" patches fail. A weathered wall is not the color it was when the siding was installed; sun, dust, and years of moisture shift it. Matching the original color formula gives you a patch that is right for a wall that no longer exists.
The practical fix is matching to the wall as it is today, then feathering. On an integrally colored finish, that means tinting the finish coat to the weathered tone. On a painted wall, it usually means painting the full wall plane, corner to corner, rather than spot-painting the patch. Painting to a natural break line costs more than dabbing paint on a patch, but it is the only way a repaired section on a weathered wall truly blends. Be honest with yourself about this trade-off before you approve a spot repair; on an older, sun-faded wall, a perfect texture match with a spot-painted patch can still show.
Step 7: Protect the Repair Through the Next Freeze-Thaw Season
New stucco work needs to cure before it faces freezing nights. In Castle Rock that makes late spring through early fall the working window for exterior stucco repair; a patch applied the week before a cold snap can fail before it ever had a chance. Keep sprinklers from hitting the fresh work, and skip pressure washing near it entirely. High-pressure water forced behind layered stucco creates the same trapped-moisture problem you just fixed.
After the first winter, walk the wall again. A sound repair shows no new cracking at its edges and no staining below it.
Why Timing Matters for Freeze-Thaw Stucco Crack Repair Before a Sale
Repairing freeze-thaw stucco damage before listing protects your sale price, because visible cracks and stained patches are exactly what buyers and inspectors flag. A pre-listing inspection that notes stucco cracking invites price negotiations larger than the repair itself would have cost. Getting the work done weeks before photos, not days, gives the finish time to cure and weather in.
Suppose a homeowner in Castle Rock is listing in 45 days and the realtor flags two cracked sections on the front elevation, plus an old patch from a previous owner that does not match. In that scenario, a realistic scope is crack repair with proper backing, removal and refinish of the bad patch, and repainting the affected wall plane. As an illustrative estimate, targeted work like that often lands in the low thousands rather than the cost of a full exterior job, and it typically takes days, not weeks. Compare that against what a buyer's inspector writes when the same cracks are left open.
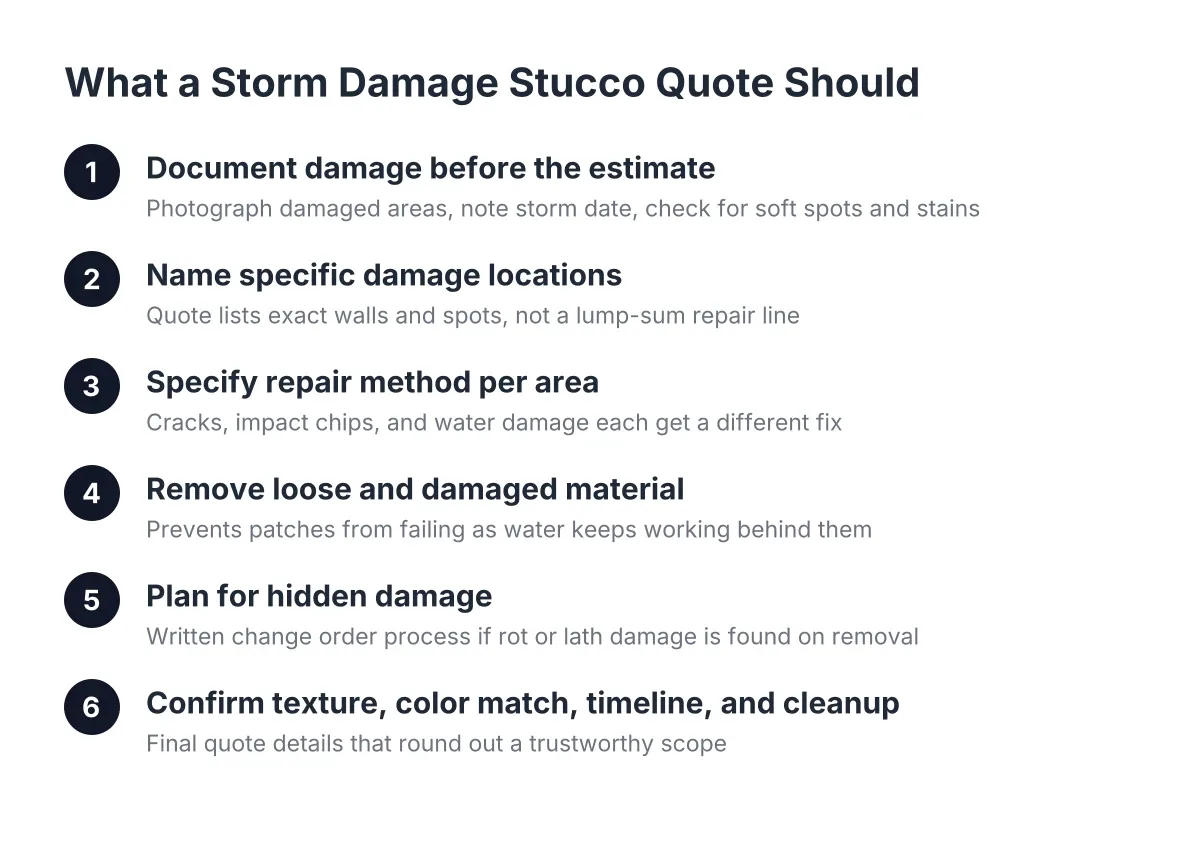
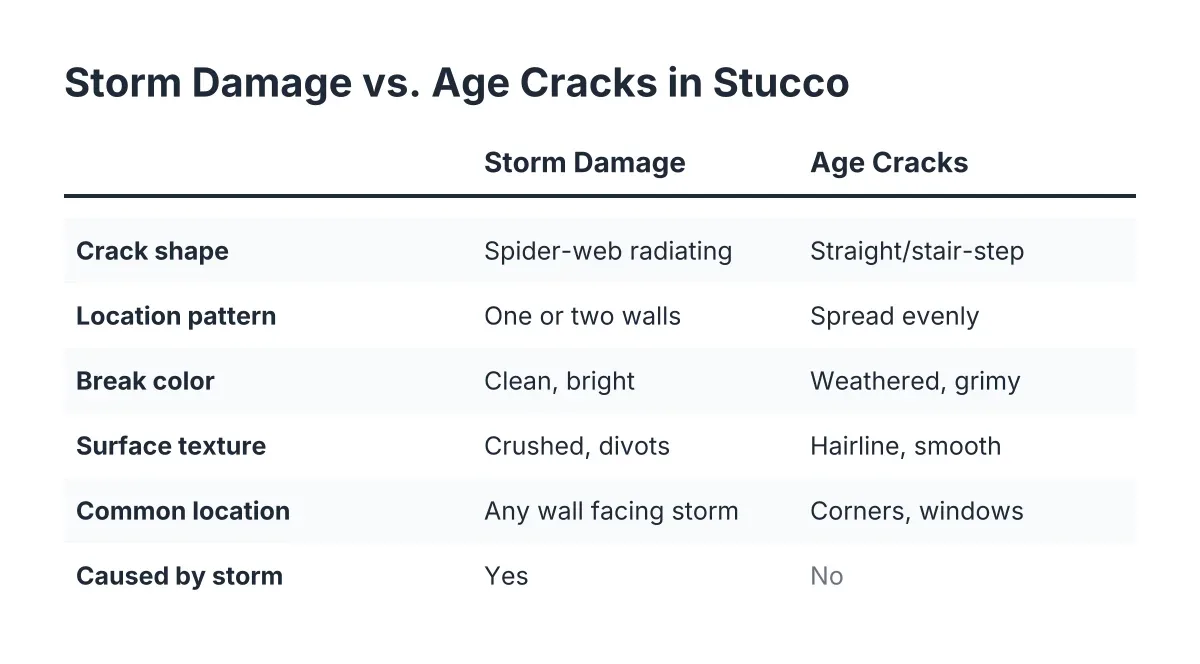
If the damage traces back to hail or wind rather than slow freeze-thaw wear, the insurance picture changes, and storm damage stucco repair may be worth documenting for a claim before any work starts. The insurance stakes in Colorado are real; the state's May 8, 2017 Front Range hailstorm caused $2.3 billion in insured damage across roughly 100,600 homeowners claims, according to National Insurance Crime Bureau. Freeze-thaw wear, by contrast, is usually treated as maintenance, not a covered event, so do not count on a claim covering it.
What Separates a Lasting Repair From Another Bad Patch
Stucco repair after freeze-thaw damage holds up when the water source is fixed, all loose material is removed, the substrate is prepped and wetted, and the texture is blended past the patch edges. Skip any one of those and you get the patch you can see from the street. A local crew that works only in stucco, knows the finishes common in Castle Rock, and will stand at the curb with you to judge the blend is the difference between a repair and a scar.
If you need stucco repair, Castle Rock Stucco Pros can help.
Prefer to talk it through? Call (720) 797-8506 — a quick call is usually the fastest way to get a straight answer for your situation.