Scratch Coat and Brown Coat Stucco: What a Castle Rock Contractor Handles That You Shouldn’t
If you have been staring at a crack in your stucco and reading up on repairs, you have probably run into the terms scratch coat and brown coat. These are the two base layers under the finish you see, and they are the main reason stucco repair is harder than it looks on video. This guide walks through how the scratch coat, brown coat system works, which steps a homeowner in Castle Rock, CO can safely handle, and which steps belong to a crew that works with stucco every week. If you are getting a house ready to list, this also tells you how to vet the contractor who will do it, so a patch does not become the thing a buyer's inspector circles.
Here is the short version. Traditional stucco goes on in three coats: a scratch coat, a brown coat, and a finish coat. Each one has its own mix consistency, thickness, and cure time. Get one wrong and the patch cracks again, falls off, or shows as an obvious square on your wall. That is why the steps below split the work the way a working crew would.
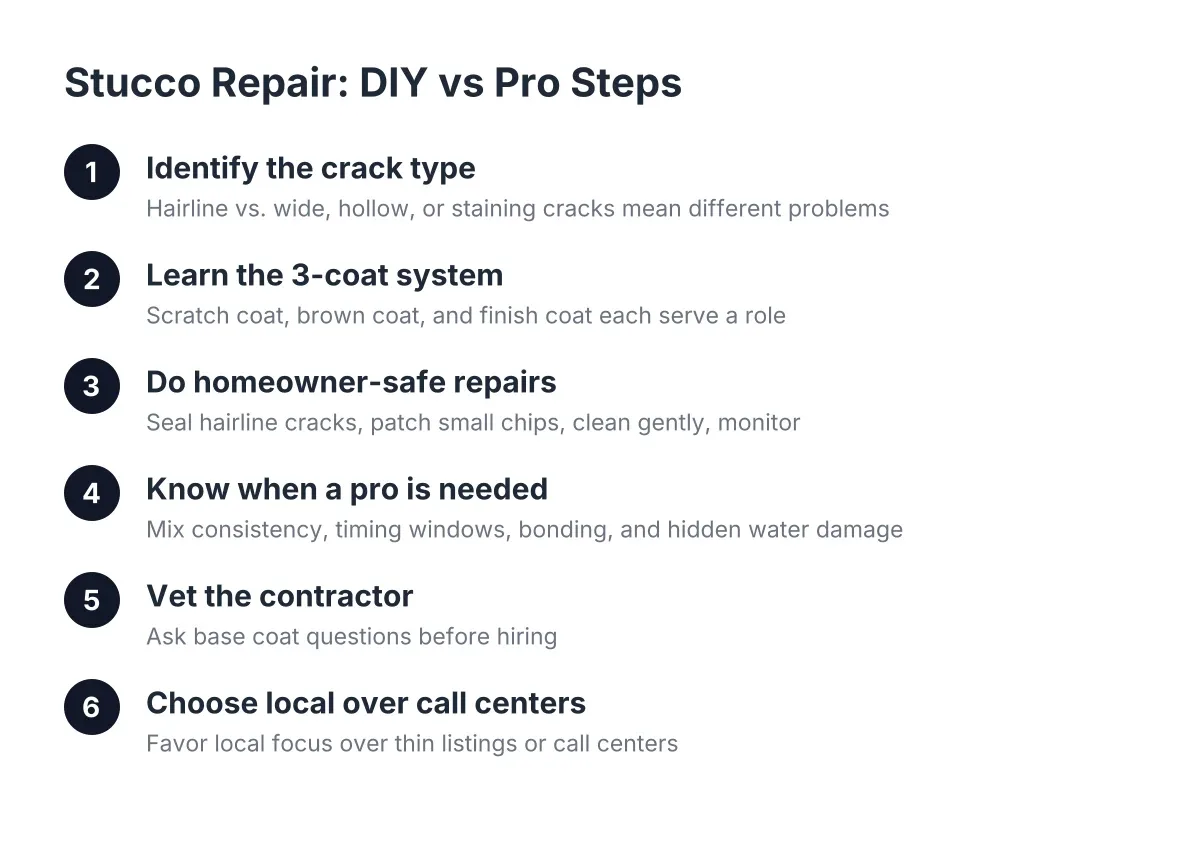
Step 1: Figure Out What Kind of Crack You Actually Have
Start by looking at the crack before you call anyone or buy anything. Hairline cracks thinner than a credit card edge are common on Colorado homes. Our freeze-thaw cycles and dry air make stucco move, and small surface cracks in the finish coat are usually cosmetic.
However, some cracks point to problems in the base coats or behind them. Watch for these signs:
- Cracks wider than about 1/8 inch, or cracks you can fit a dime into
- Cracks spreading diagonally from window or door corners that keep growing
- Stucco that sounds hollow when you tap around the crack
- Staining, bubbling, or soft spots, which point to water damage behind the wall
- A patch of stucco that moves or flexes when you press on it
A hairline crack in the finish coat is a candidate for a simple sealant repair. A wide crack, a hollow spot, or water staining means the scratch coat or brown coat underneath has failed, and that is a different job entirely. Knowing which one you have keeps you from paying for a repair you do not need, and from slapping caulk over a problem that is eating the wall from inside.
Step 2: Understand the Scratch Coat, Brown Coat, and Finish Coat System
Before you decide who does the work, understand what is actually on your wall. Traditional three-coat stucco is built like this:
- Scratch coat. A thin first layer of cement plaster pressed into the lath (the wire mesh on the wall). While it is still soft, the crew scratches horizontal grooves into it. Those grooves give the next layer something to grip.
- Brown coat. A thicker leveling layer troweled over the cured scratch coat. This coat makes the wall flat and true, and it carries most of the strength.
- Finish coat. The thin color and texture layer you actually see from the street.
So what is the difference between scratch coat and brown coat? The materials are similar cement mixes, but the jobs are different. The scratch coat is about bond; the brown coat is about flatness and strength. Additionally, the time between scratch coat and brown coat matters too. Apply the brown coat before the scratch coat has cured enough and you get shrinkage cracks through both layers. That timing judgment, along with reading moisture and weather, is where experience earns its keep.
For small repairs, there is a shortcut worth knowing. Polymer-modified, rapid-setting patch products can replace the three-coat system with a single application on minor damage. They work well for small holes and shallow chips. They do not fix a failed base coat over a larger area, and they will not match your texture on their own.
Step 3: Handle the Homeowner-Safe Repairs Yourself
Some stucco work is fair game for a careful homeowner, and doing it saves you money for the repairs that actually need a pro. These are the jobs you can take on:
- Hairline crack sealing. Clean the crack, then fill it with a flexible, paintable stucco crack sealant. For slightly wider cracks, press a backer rod into the gap first; according to Sika, this closed-cell foam cord gives the sealant a proper backing inside the crack.
- Small chips and dings. A pre-mixed stucco patch product handles golf-ball-sized damage. For homeowner-scale patching, a pre-mixed bag beats mixing raw ingredients the way a mason would for a full wall.
- Gentle cleaning. Wash stains with low pressure and a soft brush. Do not blast stucco with a pressure washer; high pressure drives water into the wall and erodes the finish coat.
- Prep and monitoring. Scrape off loose burrs and flaking material, photograph cracks with a coin for scale, and recheck monthly to see if anything is growing.
One honest warning: pace yourself. If you patch with a same-day product, apply one coat, let it set overnight, and come back the next day for the next layer. Professional crews can run multiple coats in a session because they know how each mix behaves as it sets. Homeowners who rush coats in one afternoon usually end up redoing the patch.
Step 4: Know Where Scratch Coat and Brown Coat Work Needs a Pro
Applying scratch and brown coat stucco is harder than it looks, and the standard advice in the trade is to hire it out rather than attempt it. The reasons are specific, not gatekeeping:
- Mix consistency is a feel, not a recipe. Too wet and the coat sags off the lath; too dry and it will not bond.
- Timing windows are unforgiving. The gap between scratch coat and brown coat depends on temperature, humidity, and sun exposure. Castle Rock's swings from warm afternoons to freezing nights shrink those windows further.
- Bonding over old surfaces takes judgment. A new coat over a painted surface typically needs a bonding agent, because paint resists fresh mud. Skip it and the patch peels within a season.
- Water damage hides its size. A soft spot the size of your hand often means wet lath and sheathing behind it. That repair means cutting back to sound material, fixing the moisture path, and rebuilding all three coats.
- Texture matching is its own skill. Getting the patch to vanish into the wall is the difference between a repair and an eyesore. When a patch sits proud of the surrounding texture, a skilled hand can often blend it by knocking down and scraping high spots instead of tearing it out, but that is a judgment call made trowel in hand.
For example, suppose a homeowner in The Pinery is listing in 45 days and the pre-listing inspection flags a cracked, hollow-sounding section below a bedroom window. In that scenario, caulk and paint would hide it for a month, then telegraph right through before closing. The right fix is cutting back the failed area, repairing any water damage, rebuilding the scratch and brown coats, and matching the finish texture. As an illustrative range, a targeted repair like that often lands somewhere between a few hundred dollars for crack repair and a few thousand for a rebuilt section with texture matching. That fits the "fix the visible defects, skip the overhaul" budget most sellers are working with.
Step 5: Vet the Contractor Using Base Coat Questions
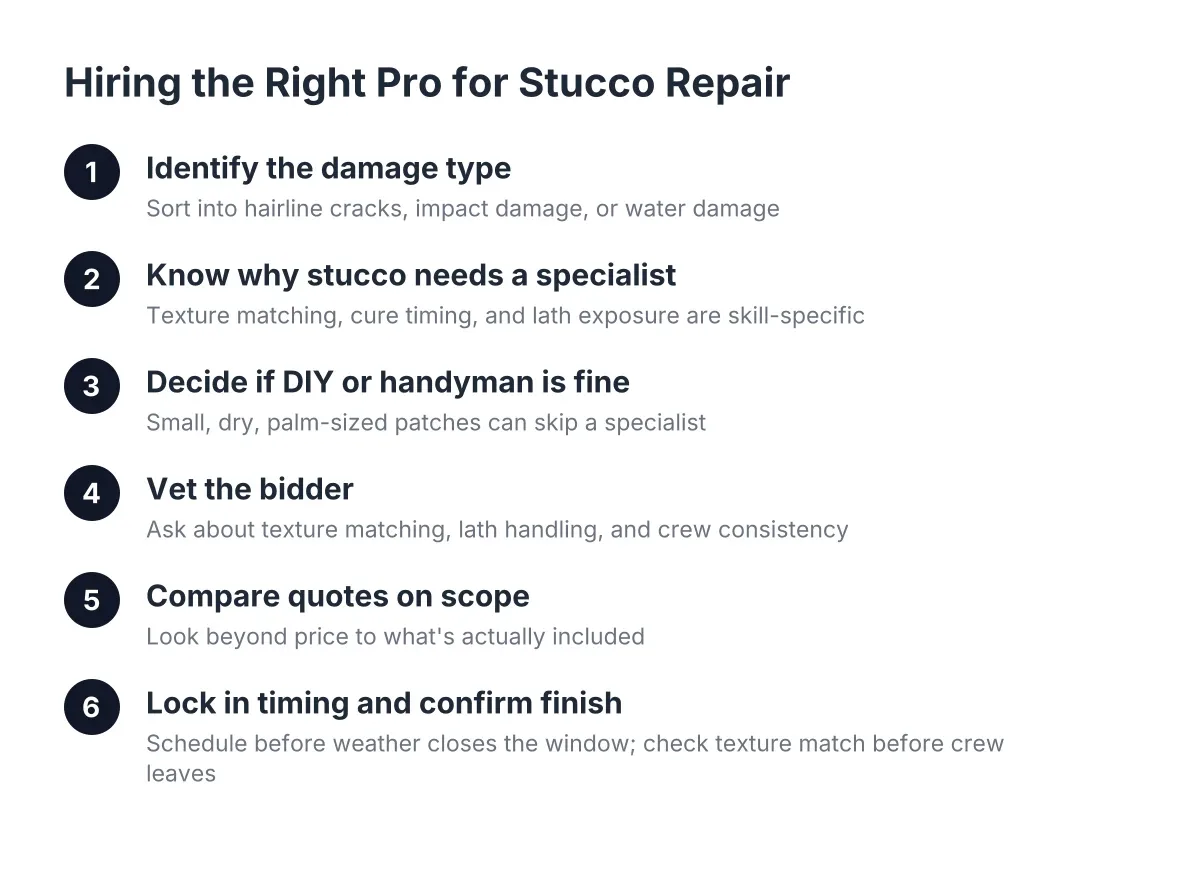
Here is the practical payoff of understanding the layers: the three-coat system is a built-in vetting tool. When you are hiring a stucco contractor, ask questions a generalist cannot fake. A painter or handyman can talk about color. Only someone who works the material can walk you through base coats without hesitating.
Ask these and listen for specifics:
- "Is this a finish coat repair, or does the base coat need rebuilding?" A good answer explains how they will test, usually by tapping for hollow spots and probing the damaged area.
- "How long do you wait between the scratch coat and brown coat, and what changes that?" You want to hear about weather, moisture, and cure, not a canned number.
- "When would you use a one-coat patch product instead of three coats?" The honest answer is small, shallow repairs only.
- "How will you match my existing texture, and can I see the match before the final coat?" Texture matching should be a described process, not a promise.
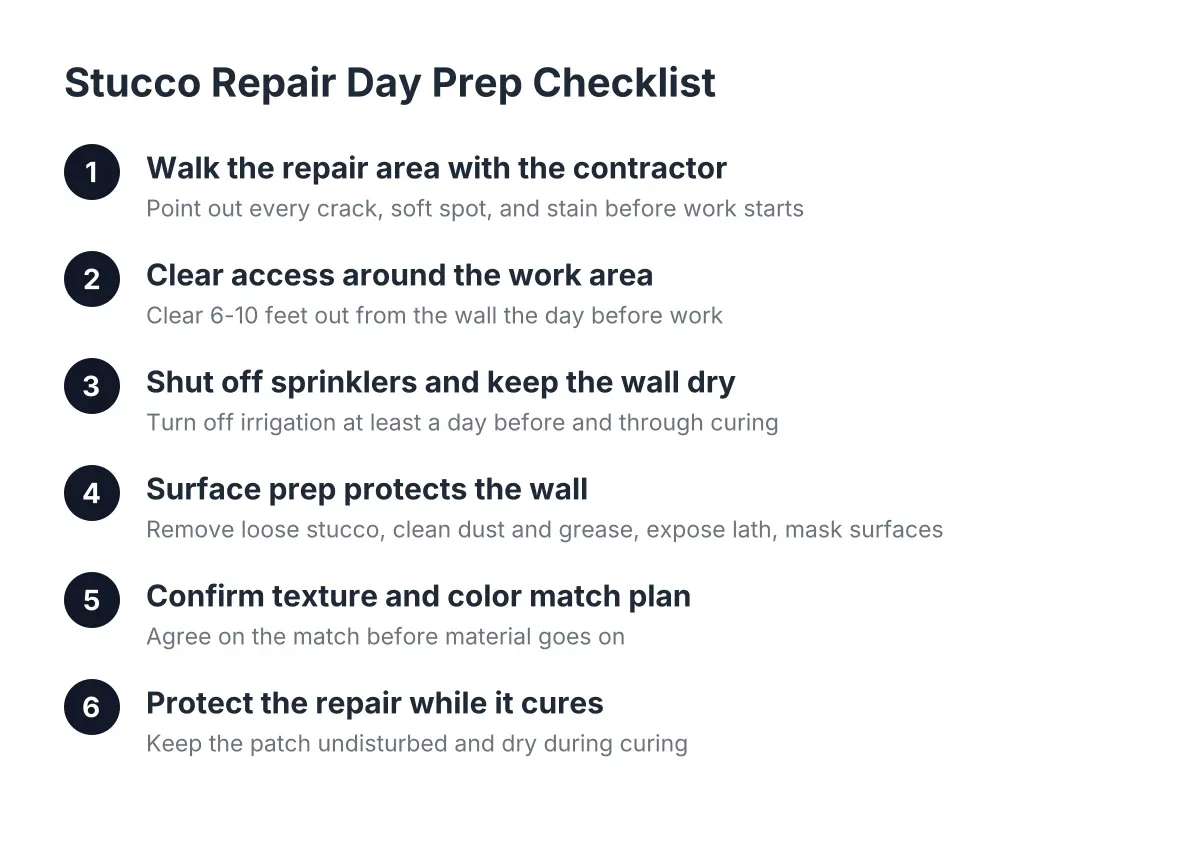
- "What surface prep do you do first?" Listen for scraping loose material and using a bonding agent over painted stucco.
Also watch for red flags that cut across all of it. Be wary of anyone who quotes a firm price without seeing the wall, pushes a full re-stucco when you asked about one crack, or cannot explain what is under your finish coat. The reverse matters too; a contractor who tells you a hairline crack just needs sealant, not a full repair, is showing you honesty you can price the rest of the bid against.
Step 6: Choose Local Focus Over Call Centers and Thin Listings
In 2026, a search for "stucco repair near me" in Castle Rock returns three kinds of results, and they are not equal. National franchise operations route your call through a call center and send whichever crew is available, which may be a different crew than the one that quoted. Thin lead-gen sites rank well but exist to sell your phone number to whoever pays for it. A dedicated local stucco repair operation answers its own phone, looks at your actual wall, and has a direct stake in how its patches look around town years later.
Why does this matter more for stucco than for other trades? Because base coat work and texture matching depend on judgment that rotating crews do not build on your house. The person who evaluated your scratch coat and brown coat condition should be connected to the person troweling the repair. For a pre-listing timeline, local also means reachable; when your realtor moves the photo date up a week, you want a person on the phone, not a ticket number.
One trade-off worth naming: a focused local specialist may book out further than a franchise with a big rotating roster, and the lowest bid on your repair will rarely come from the crew doing it right. If your crack also comes with interior water stains, sticking doors, or stair-step cracks in the foundation, bring in a structural engineer before any stucco work; that is beyond what any stucco crew should diagnose alone.
The Bottom Line for Castle Rock Homeowners
Seal the hairline cracks yourself, patch the small chips, and keep the pressure washer away from the wall. Anything that touches the scratch coat or brown coat, shows water damage, or needs the texture matched belongs with a crew that works stucco specifically. Use the base coat questions in Step 5 to separate real stucco contractors from generalists, and favor the local operation you can actually reach over a call center or a lead-gen listing. Done that way, the repair disappears into the wall, and so does the worry.
If you need stucco repair, Castle Rock Stucco Pros can help.
Prefer to talk it through? Call (720) 797-8506 — a quick call is usually the fastest way to get a straight answer for your situation.